
Today's release of Experience Versions and the Losant CLI adds a lot of power to how you develop and manage your Losant Experiences. Experience Versioning allows you to publish a version of your experience and then continue development without impacting your production deployment. The Losant CLI makes it easy to develop your experience locally and then automatically sync your local environment with your Losant application.
Experience Versioning
Experience Versioning introduces some changes to the Losant user interface and how certain resources are managed. The first thing you'll notice is that the Experience menu has changed to support the new functionality.
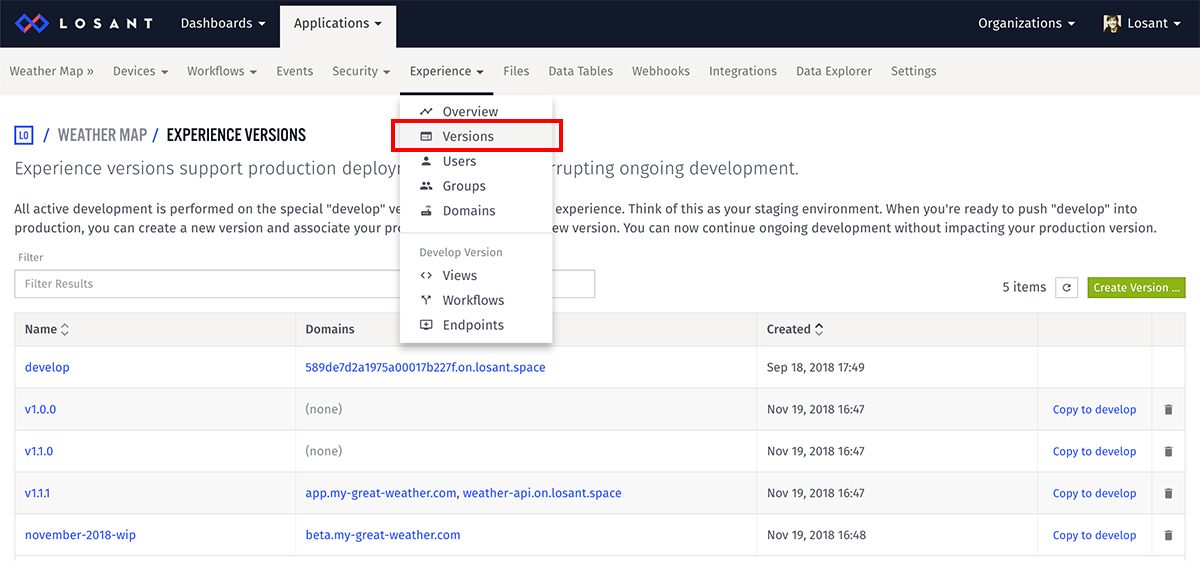
You can see your Experience Versions by clicking the "Versions" link. Every Experience will always have a "develop" version, which is the only version that can be edited. If you have an existing Losant Experience, you will now see it under this "develop" version. Think of this version as your staging environment. When you've tested your experience and are ready to push it into production, you then click the "Create Version" button, which will create a frozen snapshot from whatever is in "develop". Then you can point a production domain to your new version. You can then continue ongoing development without impacting anything in production.
The new Experience menu also has entries for Users, Groups, and Domains. These resources are global for all versions of your application experience. The functionality of Users and Groups have not changed with the introduction of versioning. Domains, however, are now used to control which version of an experience your users will interact with. For example, you may have "staging.example.com" pointed to the "develop" version, and "www.example.com" pointed to a production version. This means whenever a user requests the staging domain, they will interact with the "develop" version. Whenever a user requests the production domain, they'll receive the versioned snapshot. You can change which domains are pointed to which versions at any time, so as you continue to develop and create new versions, you can instantly associate your production domain with the updated experience.
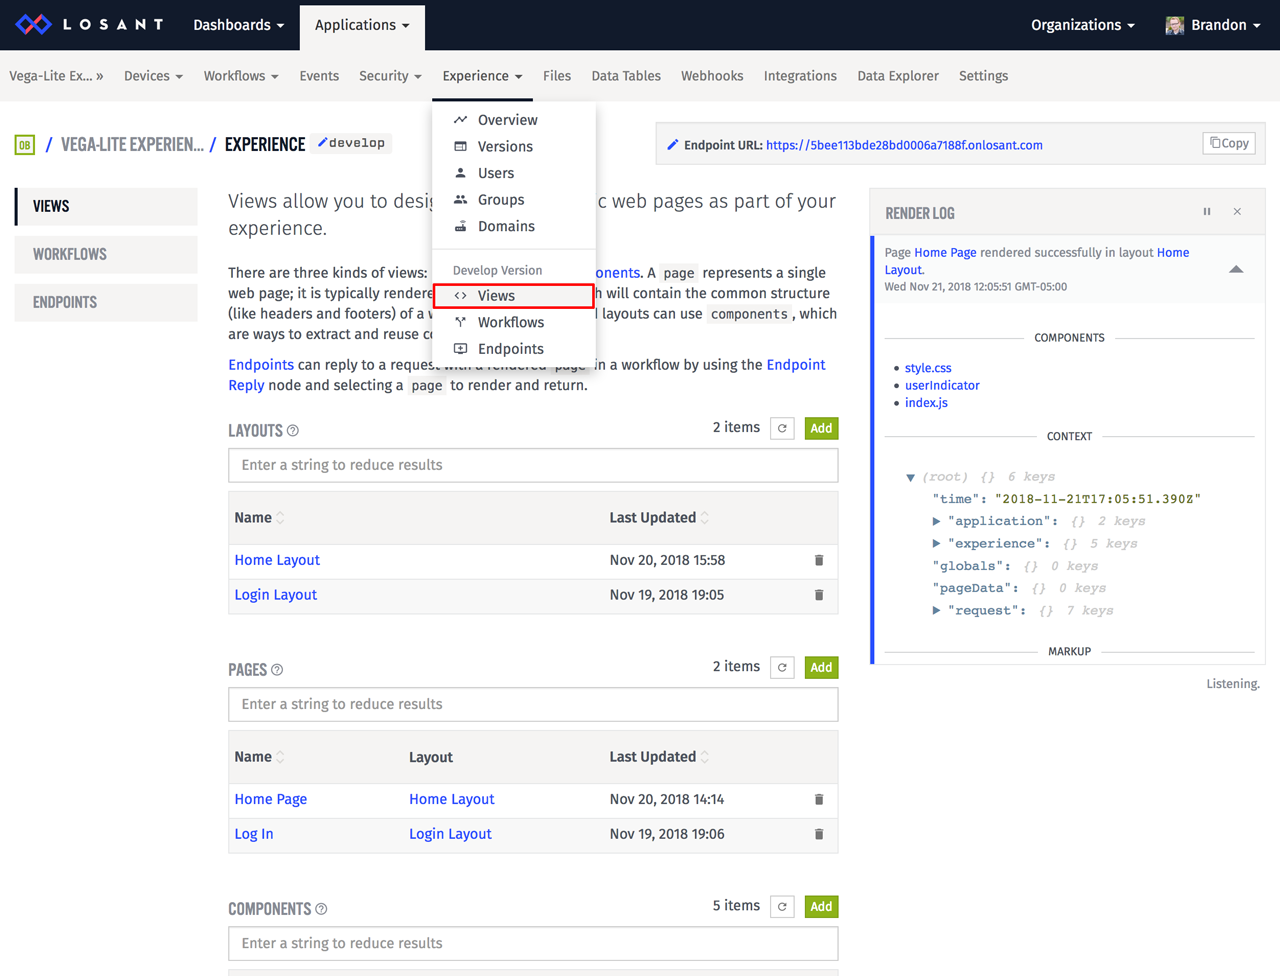
The rest of the menu items allow you to quickly access the resources within the "develop" version. Since you'll probably be working on these the most, we made them quick and easy to get to.
Experience Workflows
One of the largest changes with this release is the introduction of Experience Workflows. Experience Workflows work very similar to the workflows you already use, with two major exceptions. The first is that Experience Workflows can only be triggered from your Experience Endpoints. The second is that Experience Workflows are not versioned independently, they are bundled with all the other resources that make up your Experience Version.
With this release, we've also renamed what were previously called "Cloud Workflows" to "Application Workflows". There are now three types of workflows within Losant: Application Workflows, Experience Workflows, and Edge Workflows.
- Application Workflows run in Losant's cloud and are for general purpose processing and data handling. They offer a wide variety of triggers to facilitate the ingestion and handling of data from multiple data sources or services. They are versioned independently.
- Experience Workflows run in Losant's cloud and are designed for the data handling and custom back-end logic for Application Experiences. They can only be triggered by Experience Endpoints and they are versioned as part of an Experience Version.
- Edge Workflows run on your own gateway hardware and are executed by Losant's Edge Agent. They provide additional nodes and triggers specifically designed to interface with local peripherals and data sources. They can run without an internet connection and will buffer any reported data while offline. They are versioned independently.
Migrating to Experience Workflows
With this release, all of your existing Cloud Workflows are now Application Workflows. This also applies to any workflows that are handling your existing Experience Endpoint requests. This will continue to work without any action required on your side. If you'd like to begin utilizing Experience Versions by migrating some of your Application Workflows to Experience Workflows, please follow these steps:
- Ensure the workflow you'd like to migrate only has Endpoint or Virtual Button triggers. No other triggers are supported in an Experience Workflow.
- Export the Application Workflow to a file.
- Navigate to your Experience Workflows list by clicking the "Experience -> Workflows" main menu item.
- Import the workflow as a new Experience Workflow.
- Disable the original Application Workflow by using the small toggle next to the entry in the Application Workflow list.
- Enable the new Experience Workflow by using the small toggle next to the entry in the Experience Workflow list.
- Verify the new Experience Workflow is correctly handling the Endpoint request.
- Delete the original Application Workflow.
An important consideration when migrating is that multiple workflows can trigger from the same endpoint. If you don't use the process above and instead create a new workflow, you may then have multiple workflows handling the same request. This is very easy to accidentally do if you click the "Create Workflow" at the bottom of your Endpoint configuration page. The Endpoint configuration page only shows Experience Workflows that are triggered by the endpoint, so all existing Endpoints will show that list as empty until you migrate those workflows.
The Losant CLI
While Experience Versioning adds a lot of capability when it comes to managing and deploying your experience, the Losant CLI makes it much easier to develop the experience in the first place.
Most customers that we talked to preferred to develop their experience on their local computer using their favorite IDE. The process of getting those resources back to your Losant application was a little complicated. Some customers were using the REST API to manually sync the resources while others were simply copy/pasting the content into the Losant user interface. The Losant CLI makes this process much easier.
The Losant CLI provides local management and syncing for your Experience Views and Application Files. You can begin using the Losant CLI on any existing application by running the following commands:
Install the CLI:
$ npm install -g losant-cli
Authenticate the CLI:
$ losant login
Associate your current directory to a Losant Application and download all the remote files:
$ losant configure
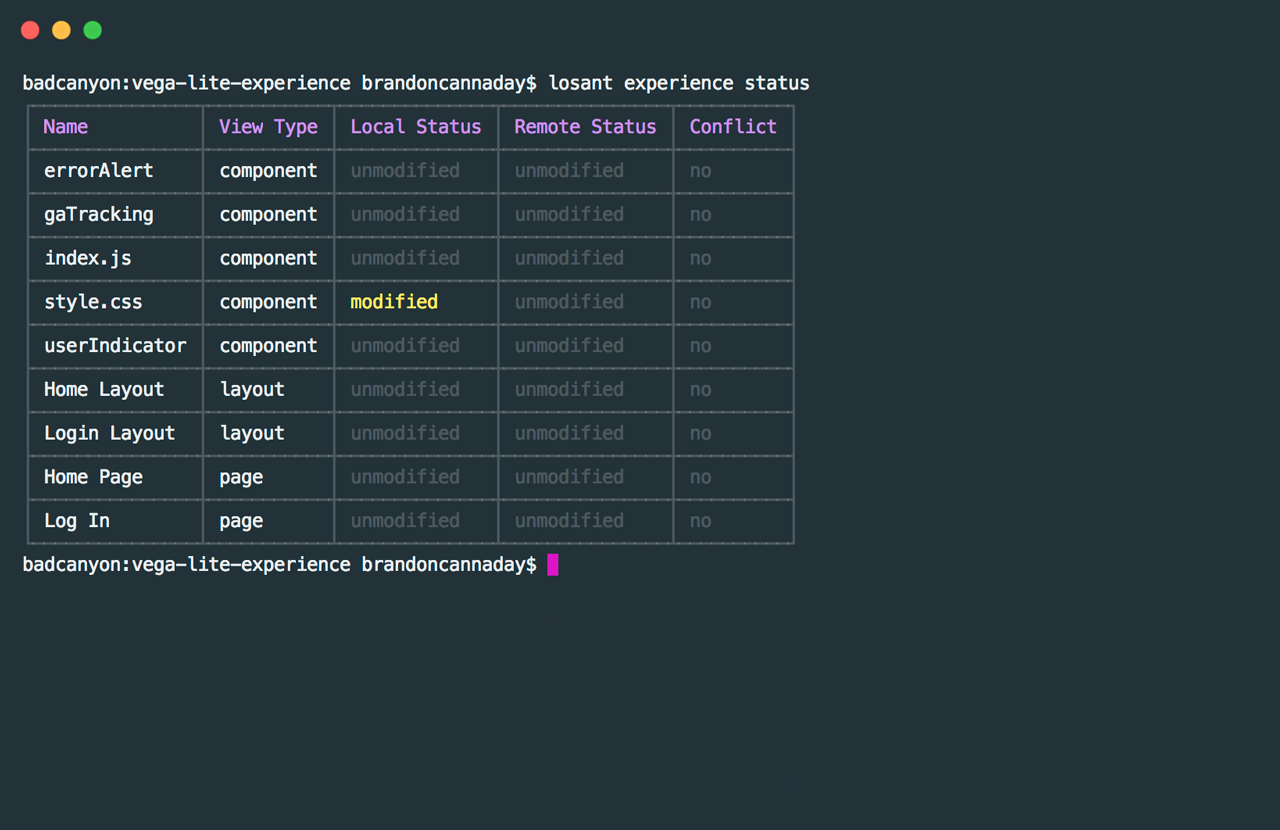
You can now use the losant files and losant experience commands to manage and sync your local environment to Losant. Our internal solutions team has been actively using the CLI for a while and it has greatly increased the team's development productivity.
What's Next?
With every new release, we really listen to your feedback. By combining your suggestions with our roadmap, we can continue to make the platform easy for you. Let us know what you think in the Losant Forums.