
The recommended way to set up any Raspberry Pi is with a keyboard, mouse, and monitor. The Pi Zero and the Pi Zero W makes this even harder by requiring you to have a USB adapter (for the mouse and keyboard), and a mini HDMI adapter (for the monitor).
Since the Pi Zero W is WiFi enabled, we can preconfigure the operating system to enable SSH and have the WiFi credentials when we are first powering the device. Thus, when it comes online, it will be available on your local network for you to start using the Pi. Since we'll be controlling the device via command line, you'll want to be comfortable with the terminal.
Materials:
- Raspberry Pi Zero W
- microSD card
- Micro USB cable
Micro SD Card Setup
First, you'll have to flash the microSD card with an operating system. I recommend a 32GB SanDisk MicroSD card; it worked perfectly. It also comes with an adapter, which is how I was able to insert the MicroSD card into my computer.
1. Download Raspbian Stretch Lite
Raspbian Stretch Lite is the "lite" version of the operating system for Raspberry Pis. The "lite" means that there just isn't a GUI desktop included in the OS, so we'll be doing everything via the command line.
2. Download Etcher
Etcher is an awesome tool, created by balena, that lets us burn images to SD cards & USB drives. In this case, we'll use it to flash the Stretch Light OS to the MicroSD card.
3.Flash OS to MicroSD With Etcher
Etcher makes things simple. Just select the image, select your MicroSD card, and flash!
4. Remove and Reinsert the MicroSD Card
This step is only necessary because Etcher automatically unmounts the SD card.
Before we put the microSD card into the Pi, we'll need to edit some files.
Once you reinsert, on Mac and Windows, you should see a new device named boot.
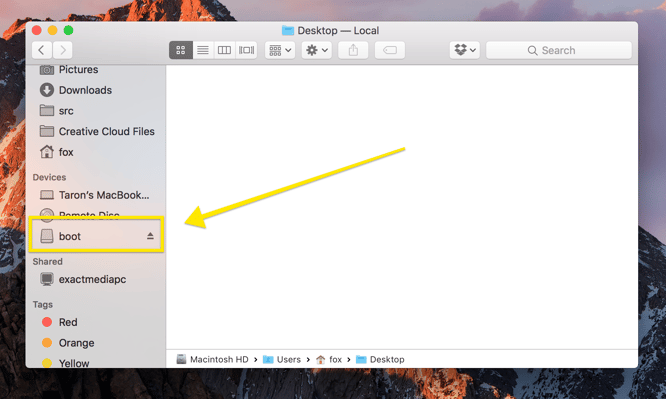
Once selected, you'll see files similar to this:
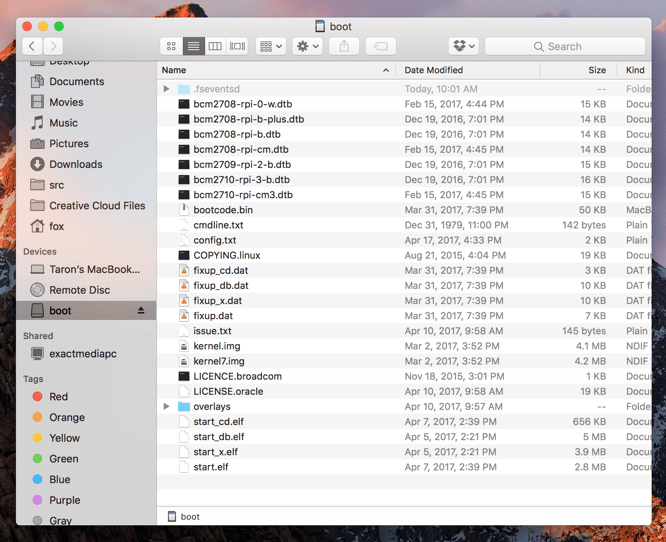
On Linux, you'll see the full Stretch Lite OS. You'll want to do the rest of the steps in the /boot folder.
5. Enable SSH
In boot, create a file called ssh. This file (no file extension needed) will enable SSH on the Pi.
6. Enable WiFi
Create a file called wpa_supplicant.conf . This is a configuration file that will allow you to pre-configure the WiFi credentials. On boot, the Pi will copy and use this as the default configuration file.
In this file, place the following content:
country=US
ctrl_interface=DIR=/var/run/wpa_supplicant GROUP=netdev
update_config=1

network={
 ssid="WIFI_SSID"
 scan_ssid=1
 psk="WIFI_PASSWORD"
 key_mgmt=WPA-PSK
}
Please double check and verify the WiFi credentials. If not, the next step will be hard.

SSH Into the Pi Zero W
Insert microSD card into the Pi and power with the micro USB cable. Now, after the Pi turns on, in about 30-90 seconds, it will fully boot and connect to WiFi.
Open your terminal. I recommend Hyper.
If you only have one Raspberry Pi on your network, you can SSH into the device via its hostname:
ssh pi@raspberrypi.localOnce you have more than one Pi on your network, a number will be attached to the hostname.
raspberrypi-NUM.localNUM will be the order in which they came on the network.You can find your device in one of two ways:
- If you have access to your router dashboard, you should be able to see all the devices listed on your network. If so, find the Raspberry Pi, and copy the IP address.
- You can use Angry IP Scanner to scan your network on your machine. With it, you'll be able to see the Pi. Once found, copy the IP address ( it will be located along with the hostname).
raspberryUpdate and Install Libraries
It's highly recommended to update your device and change the default password.
To update the Pi:
sudo apt-get update && sudo apt-get upgrade -y
You may need to install pip:
sudo apt-get install python-pipTo change password, use this command:
passwdThen, the instructions in the terminal will walk you through changing the password.
That's a Wrap
That's it! Now, you are ready to begin building cool things with your Raspberry PI Zero W. If you need example code, check out this Hackster project. It's an example application for creating an API for the Raspberry Pi Zero W to control four LEDs, each connected to its own GPIO.