
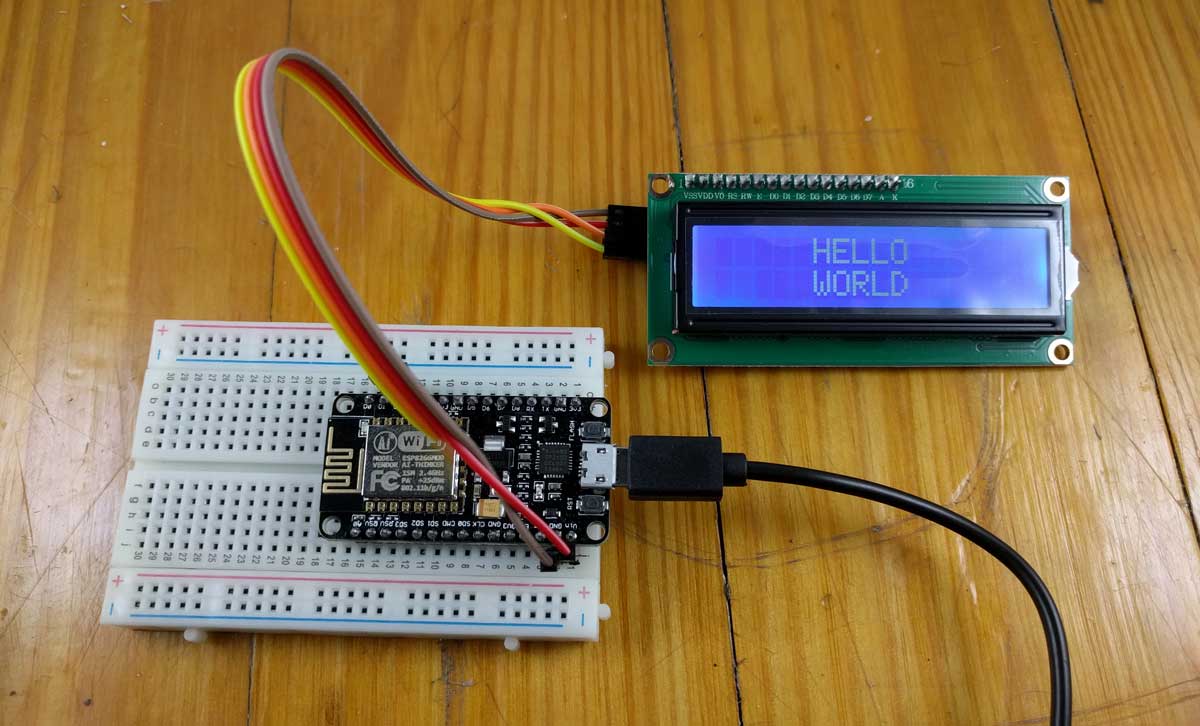
LCD Displays are a fast and inexpensive way to display simple information. This tutorial will demonstrate how to connect a 16x2 LCD display using I2C to an ESP8266 NodeMCU dev kit.
The LCD display I'm going to use is fairly common and can be picked up for a couple of bucks from Amazon. It uses I2C to communicate with the NodeMCU. I2C is nice because it only required two wires for communication.
Wiring
Connecting the LCD display to the NodeMCU dev kit is pretty straightforward. Below is the wiring diagram and each connection is listed below.
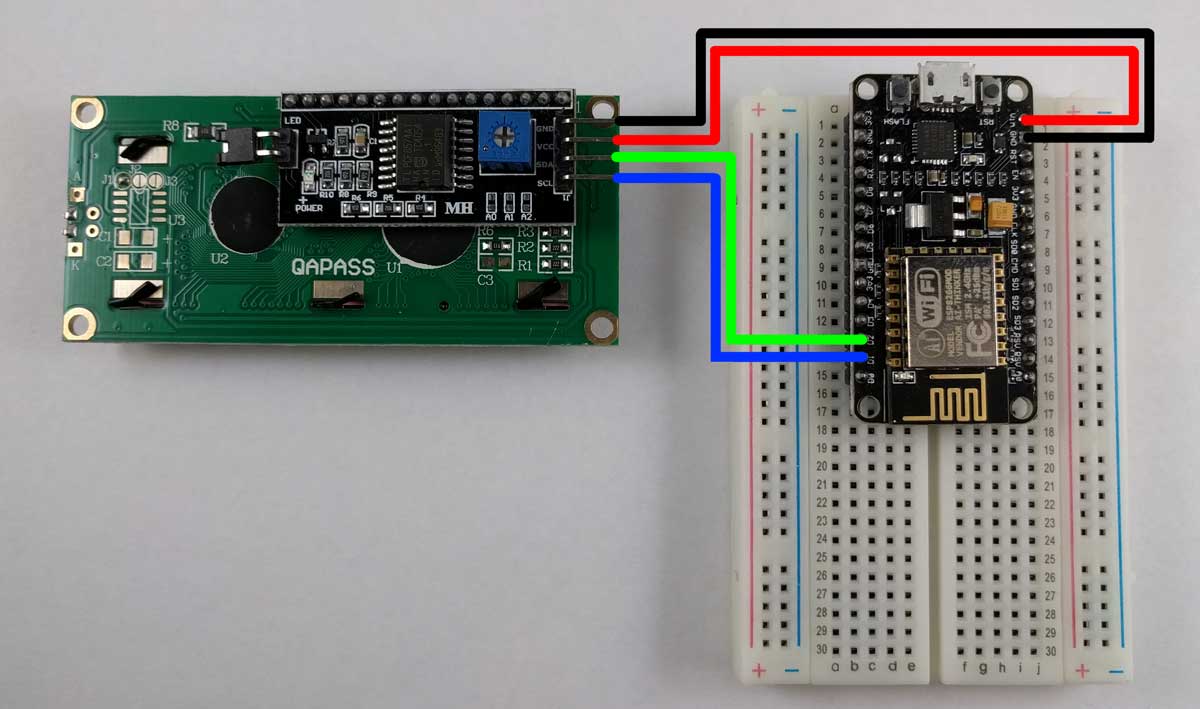
- Connect the GND pin on the LCD display to one of the GND pins on the NodeMCU.
- Connect the VCC pin on the LCD display to the VIN pin on the NodeMCU. The VIN pin on the NodeMCU is tied directly to the 5V pin on the incoming USB port. If you plan on powering the NodeMCU with something other than USB, you'll have to find another way to provide 5V to the display.
- Connect the SDA pin on the LCD display to the D2 pin on the NodeMCU.
- Connect the SDL pin on the LCD display to the D1 pin on the NodeMCU.
The Code
Thanks to the LiquidCrystal_I2C library, communicating with these displays is simple. First use the Arduino's library manager to the install the LiquidCrystal_I2C library if you haven't already.
Below is the entire sketch required to write "Hello World" to the display. I'll explain the details after.
The first thing we do is construct a LiquidCrystal_I2C object and pass it the I2C address, width in characters, and height in characters. The address is likely always 0x3F for NodeMCUs. If you apply these instructions to other types of boards, the address may be different. Arduino provides an example sketch that scans for I2C addresses if you're having difficulty finding it.
The LCD display works by first moving the cursor to where you want to start and then printing some characters. In my example, I wanted HELLO and WORLD to be centered on each line. For "HELLO", the cursor needed to be 5 characters from the right and zero characters down, so I moved it (5, 0). For "WORLD", I needed it to be 5 characters to the right and one character down, so I moved it (5, 1).
 Now that you have the basics, you can start using your LCD screen to display any information you want. For example, you could display the weather forecast. If you have any questions or comments, feel free to leave them below or in our forums.
Want to learn more? Check out these other ESP8266 tutorials: