1,200 individually addressable LED bulbs, 65 feet, an Arduino Zero, and 70 amps of power make for one hell of a tree. Over the last few weeks we've been building the perfect Christmas tree for our office and in this article I'm going to describe how we built it and what components were used.
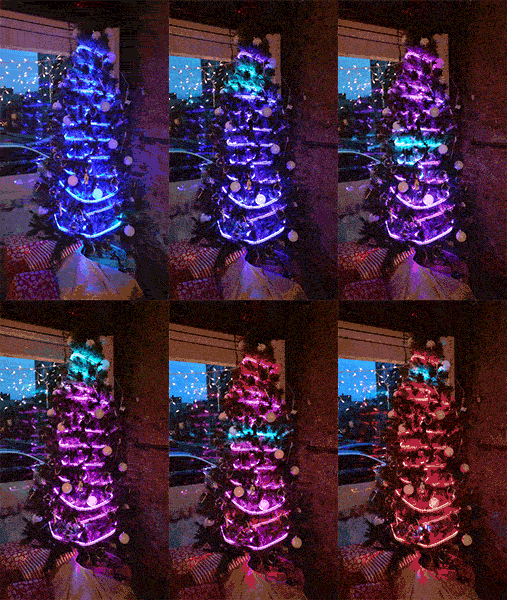
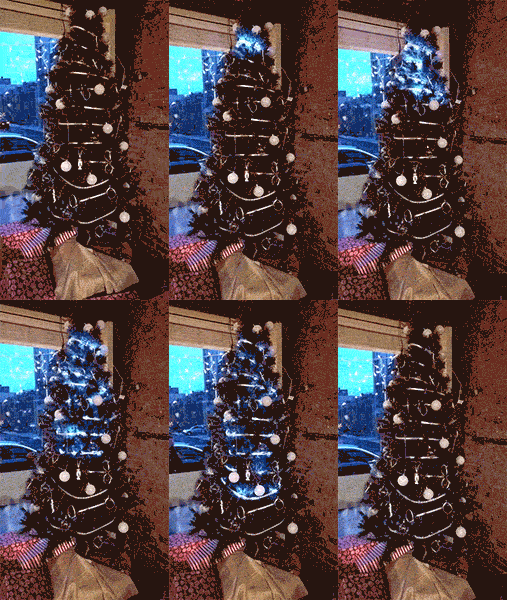
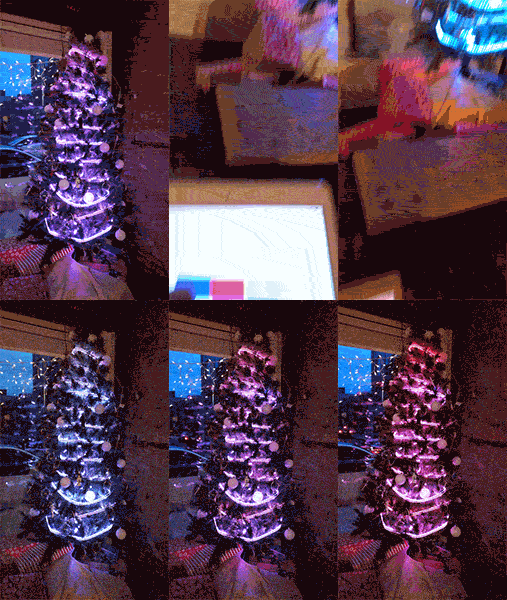
The LEDs are Adafruit's NeoPixels. They offer a wide variety of options but the ones we used are the 60 LED/meter strips.
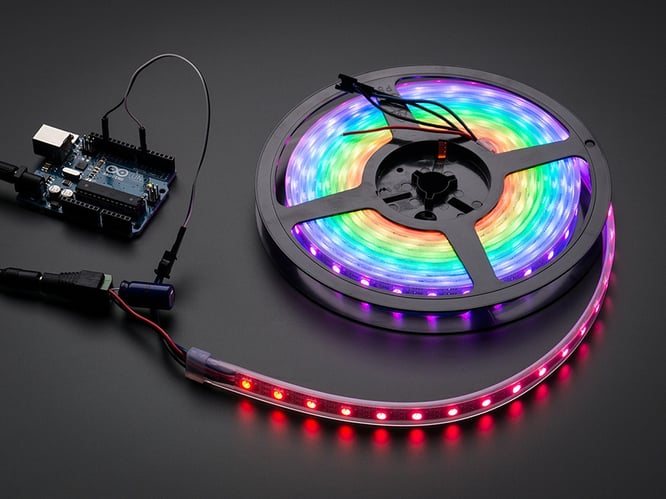
These are not the easiest bulbs in the world to control, but fortunately Adafruit has released an open-source Arduino library for controlling them. Adafruit also provides a detailed guide for properly powering and connecting them to the Arduino. I'd highly recommend reading it.
After adding up the power requirements we needed roughly 70 amps at 5 volts (60 milliamps per bulb, 1200 bulbs, is 72 amps). In order to power the tree, we went with a SMAKN DC power supply that we purchased from Amazon. We actually bought two, just in case, and it's a good thing we did because we accidentally blocked the cooling fan and blew one up.

We wired the strands of LEDs into two chains. One chain, which was 960 lights, wrapped around the outside of the tree. The other chain, which was 240 lights, was wrapped around the center post. The strands came in 4 meter sections. Each section was powered separately and their control lines were connected together.
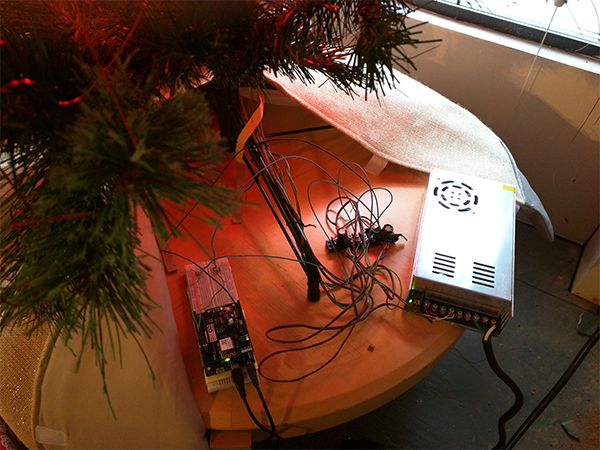
You'll also see some capacitors and if you look very closely you'll see some resistors. The NeoPixel guide outlines where and why to add these.
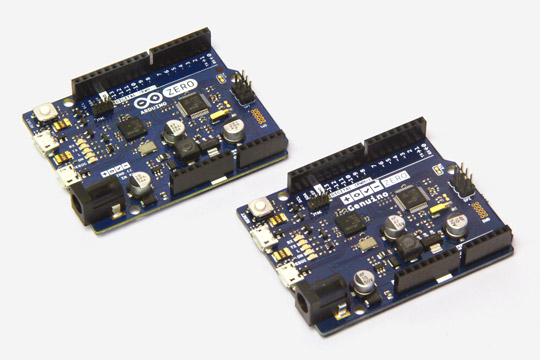
The LEDs are controlled by an Arduino Zero with a WiFi Shield 101. We chose the Zero specifically vs other options such as the Arduino Nano or Arduino Uno because controlling this many lights does require a decent amount of memory.
The source code for the tree is open source and available on GitHub. The Arduino IDE is also open source and fairly straightforward to use.
The tree is controlled using MQTT messages. It's designed to work with Losant's opinionated MQTT protocol, but it will work with any broker as long as you format the messages appropriately. The message accepts an animation to play (firework, warpcore, or fade) and various arguments specific to that animation. The tree will immediately stop any running animations and play the new one. The full details of the tree's API are in the repository's readme file.
What we're most excited about is that anyone, anywhere in the world can control the tree through the cloud and immediately view the result via live stream. The website makes use of Losant's Reaction Engine to translate a webhook into the MQTT message the tree understands. Again, more details are in the tree's GitHub repository.

To keep the video as simple as possible, we used Ustream and an old iPhone mounted to the wall. The Ustream iPhone app sometimes randomly stops streaming, so this hasn't been the most reliable part of the project, but it works well enough for us.
In the end, this was an extremely fun project to do. The underlying hardware, NeoPixels and Arduino Zero, have been rock solid. By far the most difficult task was properly wiring and hanging the lights on the tree. If LED Arduino projects like this are of interest, we'd also recommend checking out the awesome CheerLights project as well - of which we're big fans.
If you have any questions or comments feel free to leave them below.
