
In an earlier blog post, we demonstrated how to integrate AWS IoT and Losant using Lambda. AWS IoT provides communication between internet-connected devices and the AWS cloud. AWT IoT, paired with Losant's workflows, visualization tools, and application builder, makes for a comprehensive toolset to build very powerful IoT applications.
More Losant users are making use of the AWS integration, so we’ve added some improvements. At the heart of AWS IoT is an MQTT broker. Instead of using Lambda to facilitate the connection, we can create a seamless bridge between AWS IoT and Losant for effortless bi-directional communication. 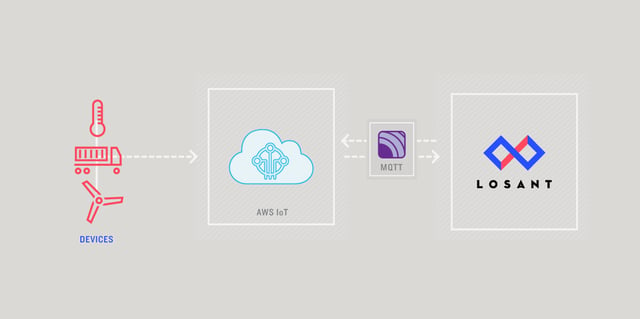
This guide will assume you're already familiar with getting devices connected to your AWS IoT instance. If you're new to AWS IoT, I recommend following their Getting Started Guide before continuing with this article.
To begin, let's set up AWS IoT.
Set Up AWS IoT
To keep things simple, we are going to set up Losant as a "device" in AWS IoT. This allows us to obtain the certificate necessary to connect to the AWS MQTT broker without interfering with existing devices. With that, log in to AWS IoT and create a new device.
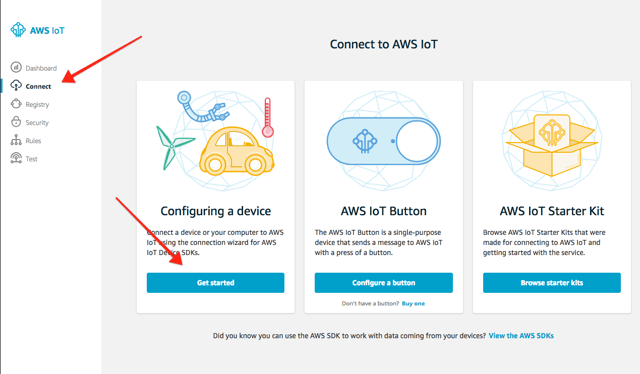
Following the wizard, select your appropriate operating system and programming language. Eventually, you'll see the option to download a connection kit. This is highly important.
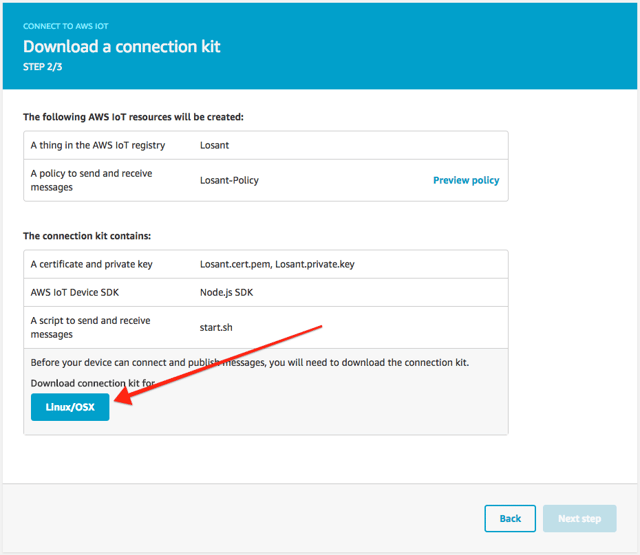
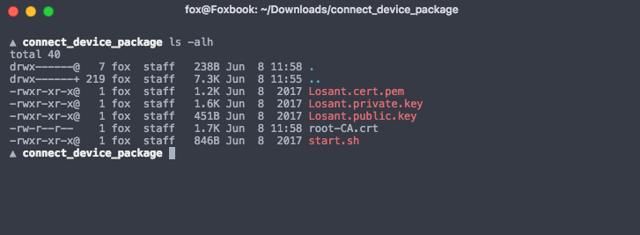
The connection kit will contain the proper keys and certificate to connect Losant to the AWS MQTT broker. If you list the contents of the connection package, you should see something similar to this:

We now have the private key and certificate. In my case, since I named my device "Losant", the private key and certificate are "Losant.private.key" and "Losant.cert.pem", respectfully. We still need the CA certificate. To obtain, run:
$ ./start.sh
This script will do two things:
- Makes sure your keys and certificates work
- Download the CA certificate
After you run "start.sh", you'll now see a new file in the directory called "root-CA.crt".
Now, we have all we need to create the Integration in Losant.
Set Up Losant
If you haven't already, sign up for a Losant account and create an application. Once in your Losant application, go to Integrations. Integrations are connections to external MQTT brokers, Pub/Sub messaging suppliers or other third-party web services.
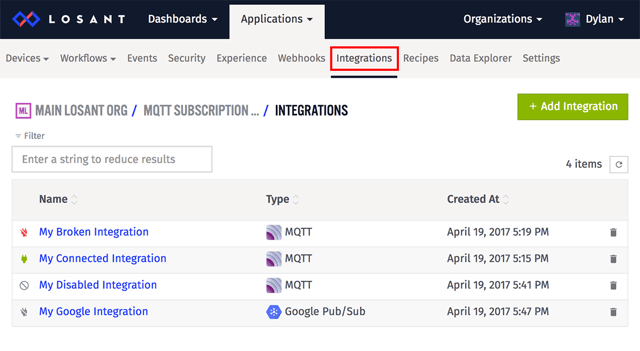
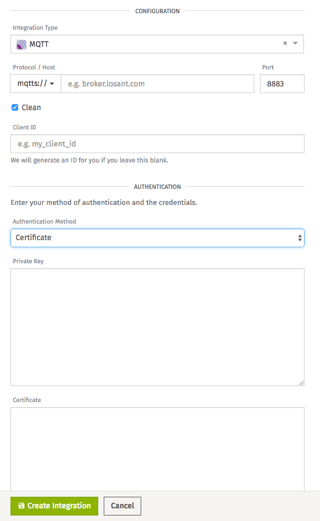
Since AWS IoT has an MQTT broker under the hood, we are going to set up an Integration for this exercise. Create a new Integration with a type of "MQTT".
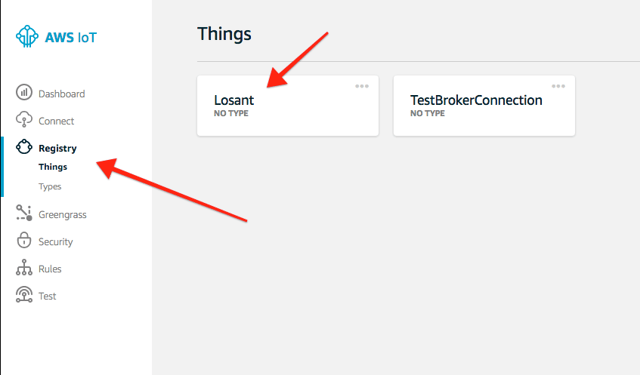
First, we need to set up the Protocol / Host. You can obtain this value from the AWS IoT device settings. In the AWS IoT dashboard, select "Registry" and choose your device.
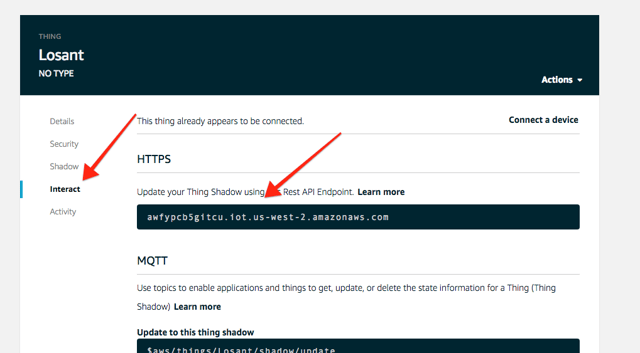
While in the device settings, choose Interact in the menu. Then, you will be presented with the URL to place into the Losant Integration.
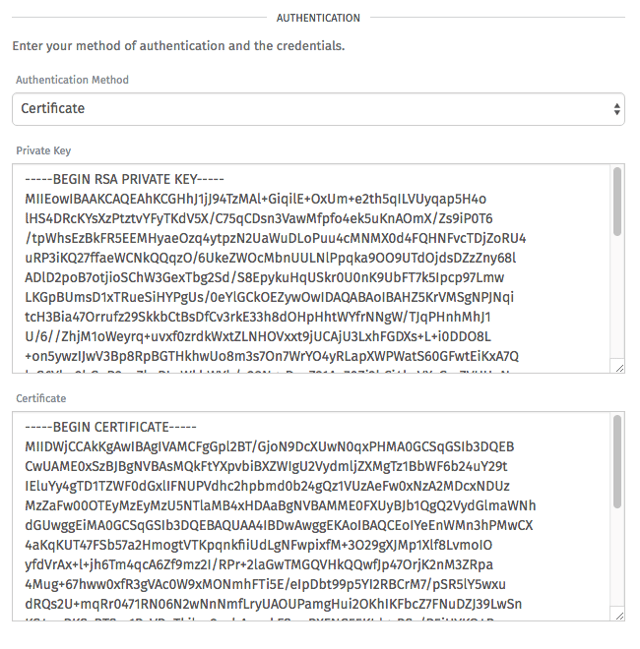
Amazon uses MQTTS, which is encrypted MQTT. So, you should select "Certificate" as your authentication method. With this option, we need to provide a private key, certificate, and a CA certificate. We we already have these from AWS IoT.
If you're configuring this integration with certificates obtained separately from the connection kit script above, you can get the CA certificate from Amazon here. The correct CA certificate to use is Amazon Root CA 1.
Update the private key, certificate and a CA certification settings in the Integration you are configuring in Losant. Again, because I named my device "Losant", the values of the private key, certificate and a CA certification were "Losant.private.key", "Losant.cert.pem", and "root-CA.crt", respectively.
If everything worked out, you'll see a successful connection message in Losant. If not, double check your key and certificates.

You have now successfully integrated AWS IoT and Losant. Let's make use of it.
Create a Topic
In Losant, you'll have to specify which topic(s) you want to listen to.
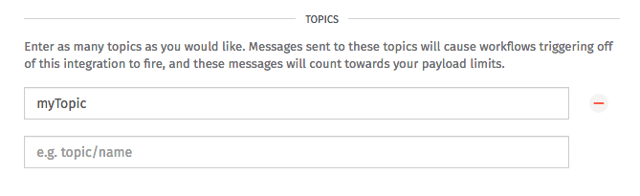
For this example, I am going to listen for a topic called "myTopic".
Create a Workflow
To create a workflow for this Integration, scroll to the bottom of the settings to see the option to create a workflow. This new workflow will trigger whenever a MQTT message is sent to AWS IoT.
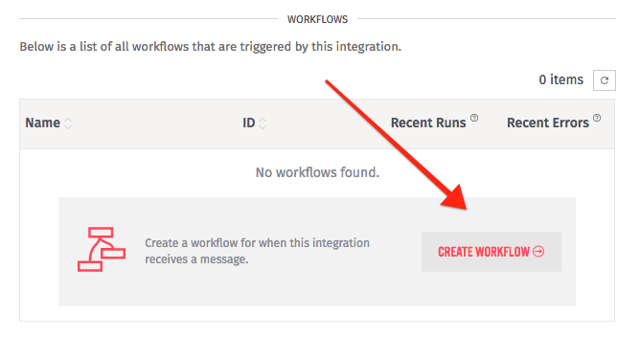
This option creates a default template for us.
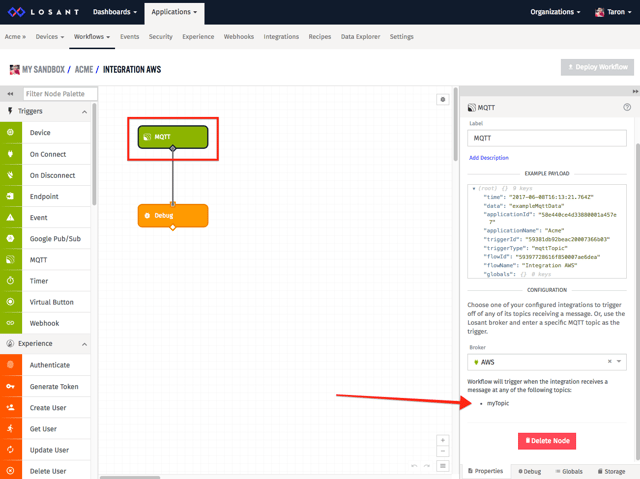
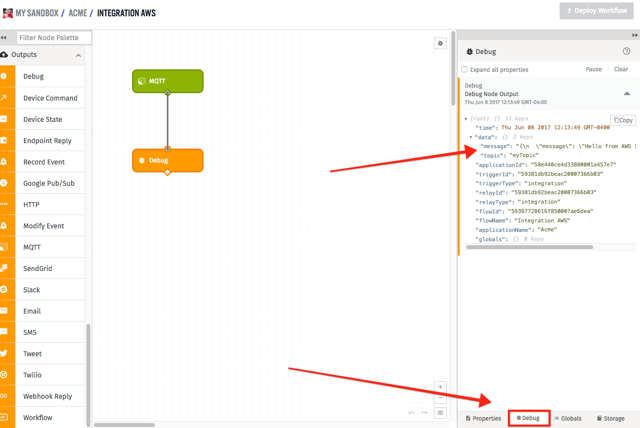
Included is an MQTT Trigger Node and a Debug Node. Since we configured Losant to listen to the myTopic topic, whenever a message is sent to the AWS IoT broker with that topic, it will trigger this workflow. This particular workflow will just print the message to the Debug panel.
To test this, we can use the AWS MQTT web client.
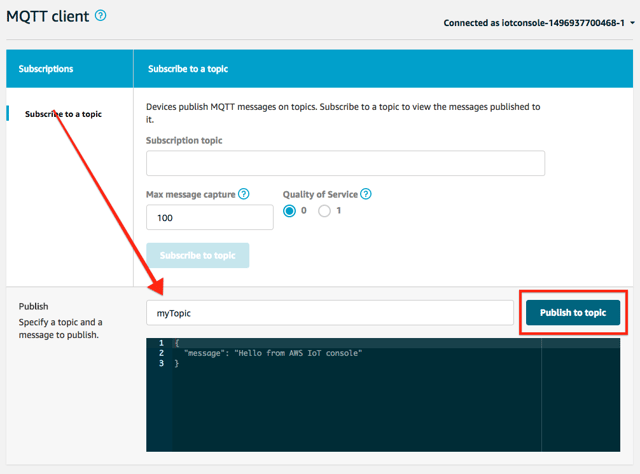
We we publish to the topic "myTopic", you'll see this message appear in the Losant debug panel.
Trigger AWS IoT
Because Losant creates a connection to the AWS IoT broker, we can also send messages back.
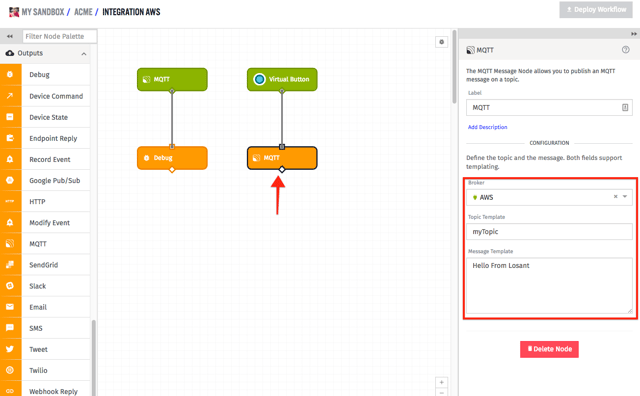
Using a Virtual Button Trigger and the MQTT Output Node, we can send a message back to the AWS broker.
What's Next?
With the ability to send messages back and forth between Losant and AWS IoT, you can easily create complex logic and processes using the different Losant nodes.
Check out these resources: