
Docker is an increasingly important component used to distribute software, especially for complex use cases in Edge Computing and IoT. The Raspberry Pi Camera offers a compelling and easy-to-access source of image data when performing early development and proving IoT concepts. However, gaining access to the camera in Docker can be a difficult process.
This tutorial provides step-by-step instructions for accessing the Raspberry Pi Camera from inside a Docker container.
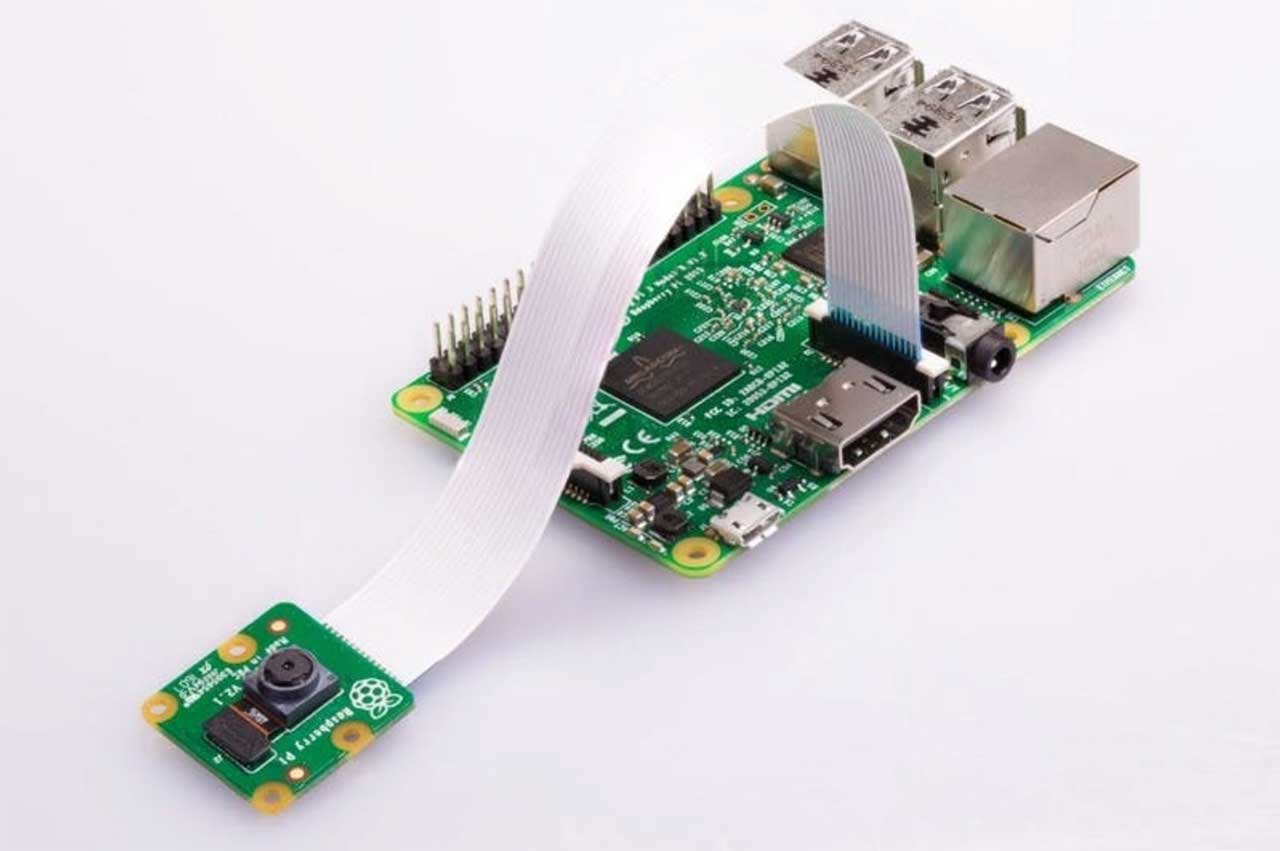 Image Source: Raspberry Pi
How to Let Non-Root Users Access the Raspberry Pi Camera
The Raspberry Pi Camera is treated like any other Linux device. When it's attached, it's mounted at /dev/vchiq. With a base installation of Raspbian, the camera device is only accessible by the "pi" user and the "root" user. Since Docker containers have their own set of users, any attempt to use the camera will be met with an "Access Denied" error.
Let's first start by understanding why the camera is only accessible by the "pi" and "root" users. Linux uses a system called udev for device management. Among many other tasks, udev has a set of rules that apply permissions whenever a device is attached. Raspbian comes with a udev rule for the camera, which can be viewed at /lib/udev/rules.d/10-local-rpi.rules.
SUBSYSTEM=="vchiq", GROUP="video", MODE="0660"
SUBSYSTEM=="vc-sm", GROUP="video", MODE="0660"
SUBSYSTEM=="bcm2708_vcio", GROUP="video", MODE="0660"
The "root" user will always have access to any Linux device, but the rules shown above are also granting read and write access (0660) to any user in the "video" group. Since the "pi" user is a member of the "video" group, it also has access to the camera.
In Raspbian, and most other Debian-base Linux distributions, the built-in udev rules are located in /lib/udev/rules.d. These rules can't be changed, however udev does allow us to add additional rules in /etc/udev/rules.d.
In order to grant all users access to the Raspberry Pi Camera, create the file /etc/udev/rules.d/99-camera.rules with the following content:
SUBSYSTEM=="vchiq",MODE="0666"
It's common practice to prefix udev rule files with a number. This is because udev rules are executed in alphabetical order, and using a number prefix allows us to control that order. We're using "99" because we want the built-in rules to execute before our custom rule.
The rule we added looks very similar to the built-in rule, with two exceptions:
- The "GROUP" statement is removed so the camera can be accessed by users outside of the "video" group.
- The "MODE" is changed from "0660" to "0666". Changing the last number from a "0" to a "6" grants read/write access to all users. Feel free to read up on Linux permissions to learn more about how that works.
All Docker containers will now have access to the camera device. The device can be passed into the container using Docker's --device flag:
--device /dev/vchiq
How to Mount the Raspberry Pi Camera Dependencies into a Docker Container
The Raspberry Pi Camera tools like PiCamera and raspistill require several dependencies in order to work. Raspbian has all of these dependencies pre-installed in the /opt/vc folder. Instead of attempting to build these into the Docker container itself, it's much easier to mount these in from the host file system.
-v /opt/vc:/opt/vc
Inside the /opt/vc directory is another directory, lib, that contains a bunch of shared libraries. By default, Linux won't use this directory unless we instruct it to. The easiest way to do that is by defining the LD_LIBRARY_PATH environment variable:
--env LD_LIBRARY_PATH=/opt/vc/lib
Without this environment variable set, attempting to use one of the Raspberry Pi Camera tools will result in the following error:
OSError: libbcm_host.so: cannot open shared object file: No such file or directory
How to Access the Raspberry Pi Camera Using Python in a Docker Container
Now that we have permission to access the camera device and all required dependencies, we can use the camera to capture images. To access the camera using Python, the Docker container requires the PiCamera module to be installed.
Building a Docker container is outside the scope of this article, however the following is an example Dockerfile that would result in a Python container with PiCamera installed:
FROM python:3
ADD my_script.py /
RUN pip install picamera
CMD [ "python", "./my_script.py" ]
For more details about building a Python-based Docker container, check out the Dockerize your Python Application article.
Because of the groundwork we've already laid, the PiCamera module will be able to directly access the camera using any Python script inside the Docker container. The following snippet demonstrates how to capture a basic image using PiCamera:
from time import sleep
from picamera import PiCamera
camera = PiCamera()
camera.resolution = (1024, 768)
camera.start_preview()
sleep(2)
camera.capture('output.jpg')
exit()
How to Access the Raspberry Pi Camera Using raspistill in a Docker Container
The raspistill CLI tool makes it easy to perform basic image capturing using the Raspberry Pi camera without writing code. Because raspistill is installed in /opt/vc/bin, we've already made it available inside the Docker container when we mounted in the camera dependencies.
To use raspistill inside the Docker container, execute the following command:
/opt/vc/bin/raspistill -o output.jpg
Use the Raspberry Pi Camera as an IoT Data Source
The application in the screenshot below uses the Losant Enterprise IoT Platform to receive, store, and process raw image data from a Raspberry Pi Camera to visualize and understand parking trends.
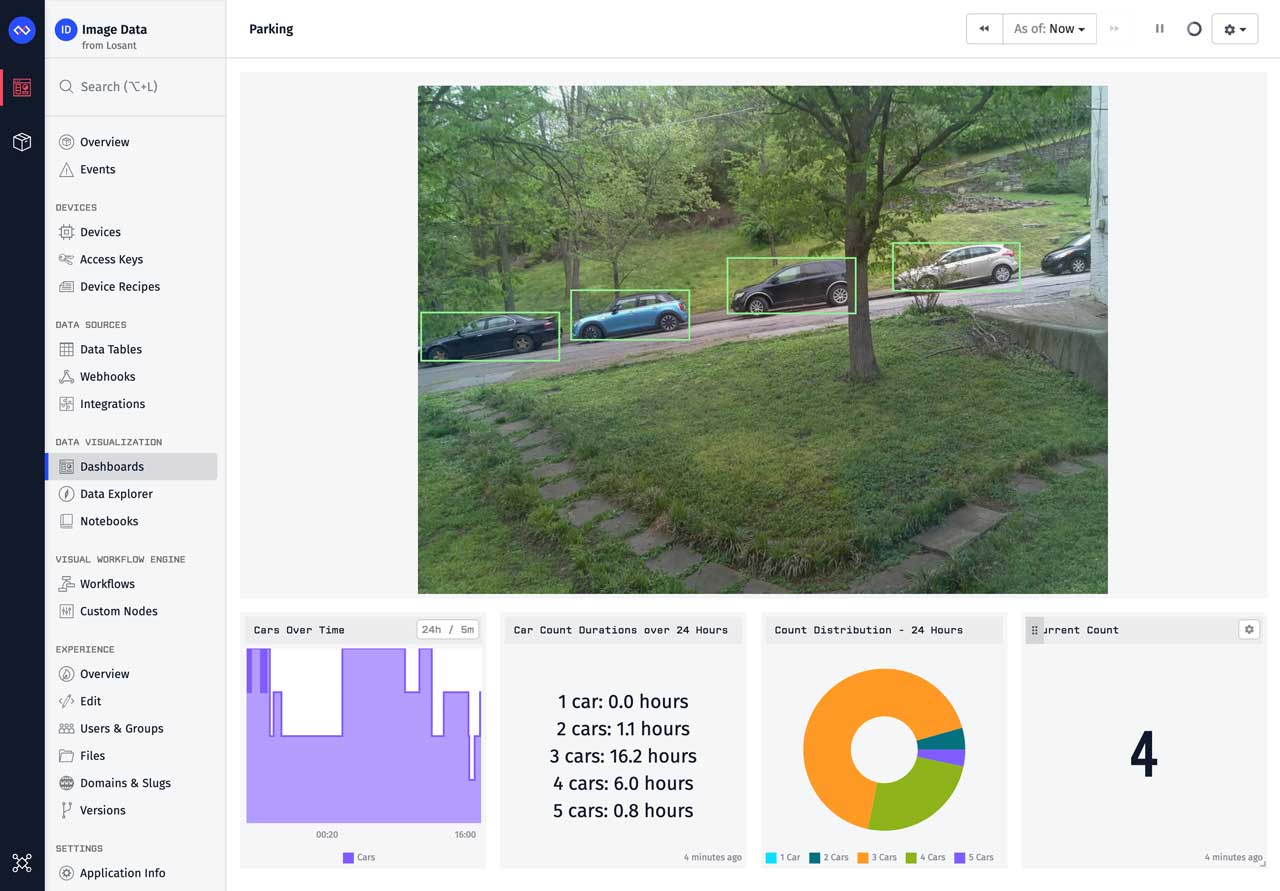
The Raspberry Pi is running Losant's Edge Agent to handle the connection and secure reporting of image data to the cloud. An Application Workflow is then used to send the image data to Google's Vision API to detect cars.
To learn more about building this application, see the following tutorials:
- How to Access the Raspberry Pi Camera using the Losant Edge Agent
- Analyzing IoT Image Data using Losant and the Google Vision API
Losant provides a full-featured and no-cost Developer Sandbox where you can explore the platform yourself. If you'd like to learn more about Losant or talk to one of our team members, please contact us!