
Application Programming Interfaces (APIs) are the backbone of service-to-service communication. They enable the development of products that solve problems far larger than what any individual service can deliver. IoT products, in particular, benefit greatly through APIs by enriching device telemetry data with other services like customer communication, inventory tracking, procurement, and advanced analytics.
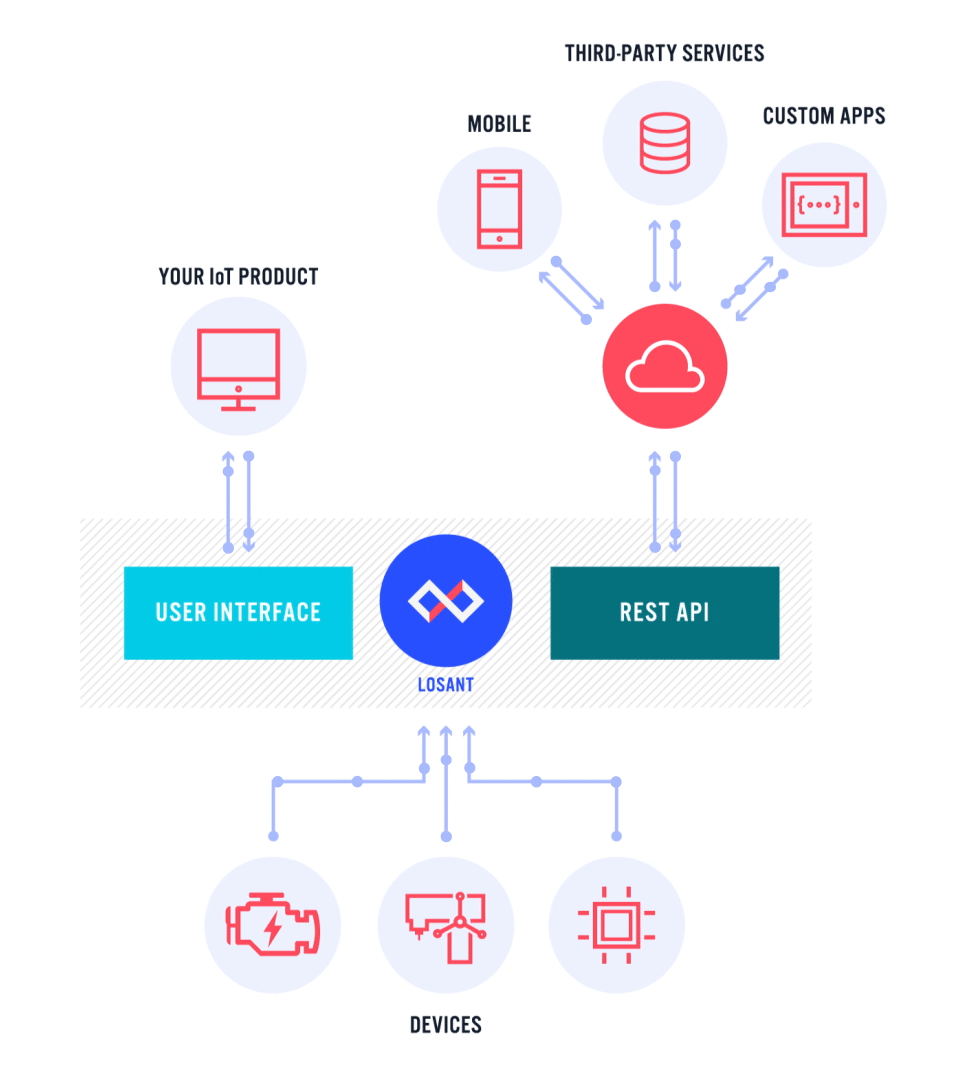
When delivering your own IoT connected product, APIs take two forms. The first, described above, is the integration of third-party data and services. The second, and the topic of this tutorial, is to publish an API so that your customers and partners can tap into the IoT data generated by your product. Offering an API fosters an ecosystem of development on and around your product, ultimately expanding its value in ways you never imagined or thought possible.
For example, if you’re the manufacturer of conference room audio equipment, an API allows smart building solutions to extend your equipment to other use cases, like occupancy monitoring based on microphone level. This increases the value and sellability of your product by eliminating the added cost of dedicated occupancy sensors.
Many of the concepts covered in this tutorial apply to whatever IoT platform you choose for development. For this tutorial, however, we’re going to develop an IoT API using the Losant Enterprise IoT Platform. Everything shown in this tutorial can be done for free with a Losant Developer Sandbox account.
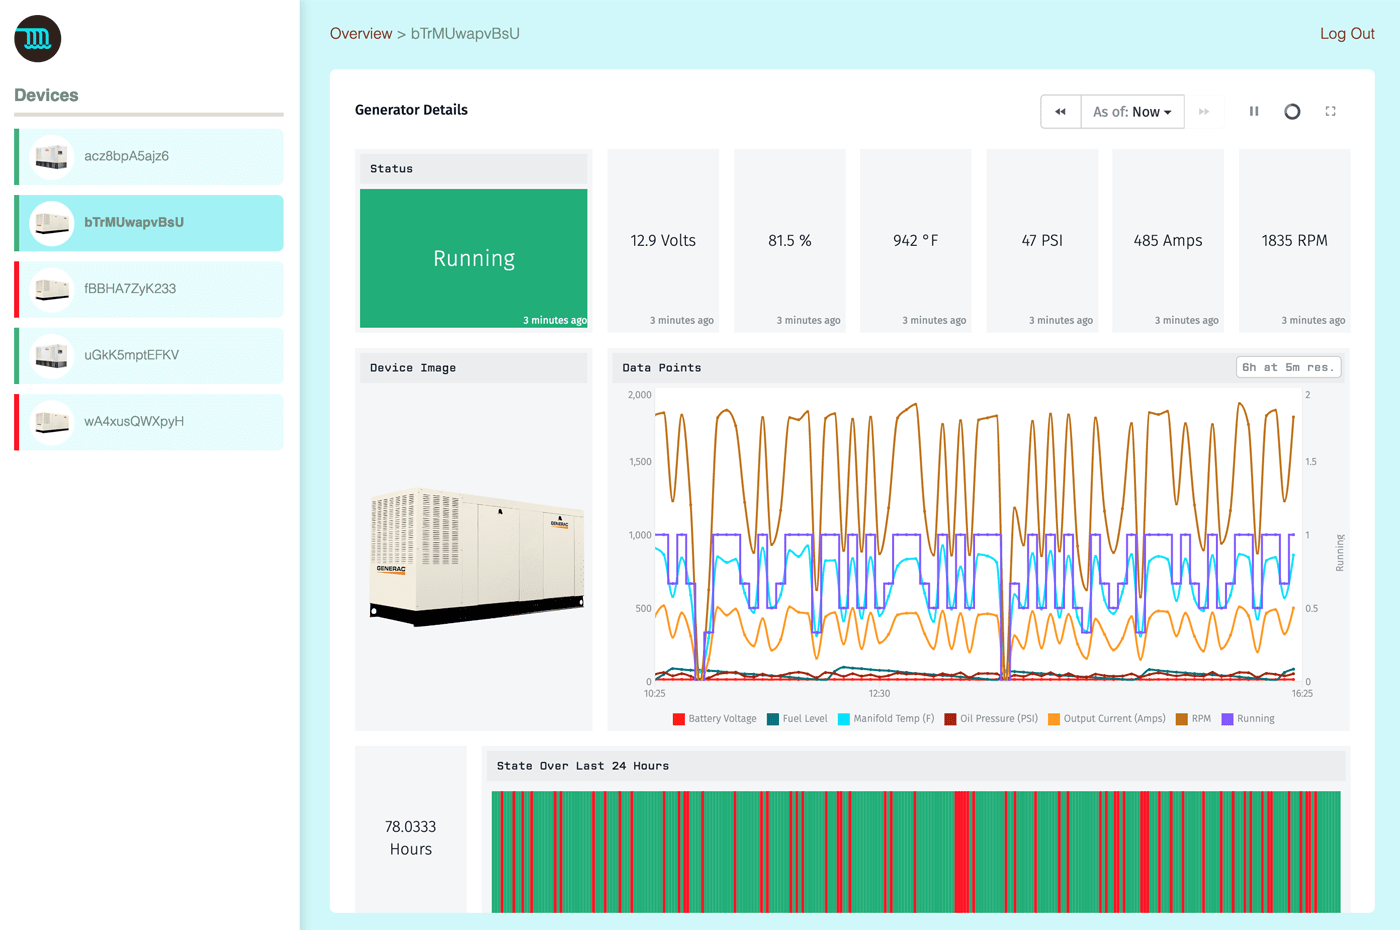
The API we’re going to develop will be for our Industrial Equipment Monitor application template. If you’d like to follow along and build this API for yourself, feel free to create a new application from this template. This template lays down a great foundation on which to build. It’s a multi-tenant IoT application that contains multiple simulated devices, users, tenants, and an End-User Experience we can build upon.
This tutorial will focus on two main topics. The first is to implement Bearer Token API Authentication and the second is to implement the REST API endpoints. There are many ways to build an API, however a token-based REST API is by far the most widely used. When implementing an API, it’s important to choose a standard that your customers and partners will be comfortable and familiar with. There are few things more frustrating than trying to use a non-standard API.
Authenticating Your IoT API
The authentication mechanism we’re using involves providing a bearer token in the Authorization header of every API request. The Losant Workflows that are fulfilling these API requests check the validity of the token and ensure the requester (i.e. the token’s bearer) is allowed to perform the request.
Fortunately, Losant’s Experience User authentication is already based on bearer tokens, so the only thing we need to add is the ability to generate and access a user token for API requests.
To do this, we’ll need to add a minimal Experience Page where the user can copy a token to their clipboard. To access the page, I added a link named API Token next to the Log Out link that links to /token, which displays a page where the user can receive their own API token.

In an actual application, you’d probably display this token somewhere in a larger user profile page. For this tutorial, however, we’re keeping things as simple as possible.
Behind most Experience Endpoint requests – in this case /token – there’s an Experience Workflow fulfilling the request. For this endpoint, it needs to obtain a bearer token for the current user and display the result within an Experience Page.
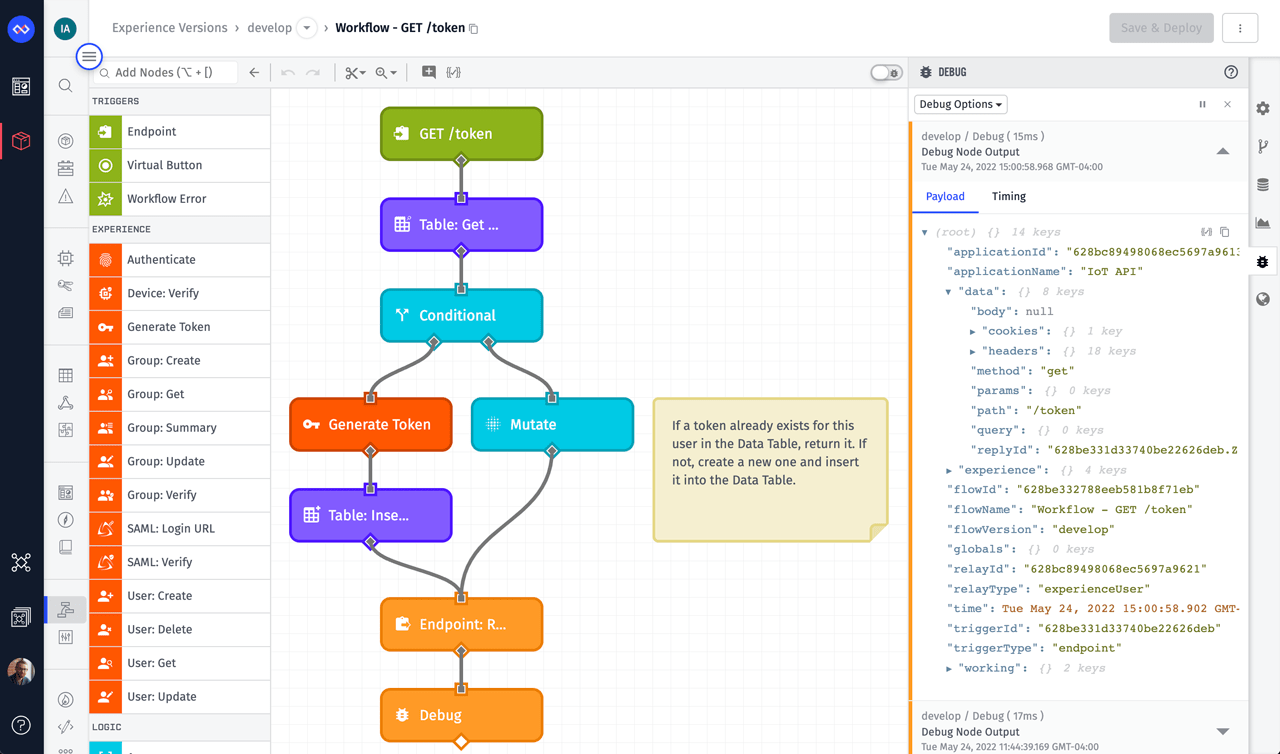
Since we don’t want to generate a new token every time this page is viewed, this workflow only generates a token once and stores it in a Losant Data Table. To generate the new token, this workflow uses the Generate Token Node, which generates bearer tokens for Experience Users. Lastly, this workflow replies to the /token request using an Endpoint: Reply Node that renders the experience page in the screenshot above.
For this tutorial, the token is configured to never expire. If desired, this behavior can be changed for better security. If the token does have an expiration date, you would need to check to see if it was expired before displaying it to the user. If it was expired, you would need to generate a new one and update the token that’s stored in the data table. If a token is ever compromised, is it possible to invalidate all tokens for a specific user.
With this token, the user can now make authenticated API requests by providing this token in the Authorization header.
For more details on how to build Losant Experiences, check out the Building Application Experiences Deeper Dive.
Defining Your IoT API’s REST Endpoints
The application template we started with already has several Experience Endpoints defined, and we’ve already added /token so the user can retrieve their API token.
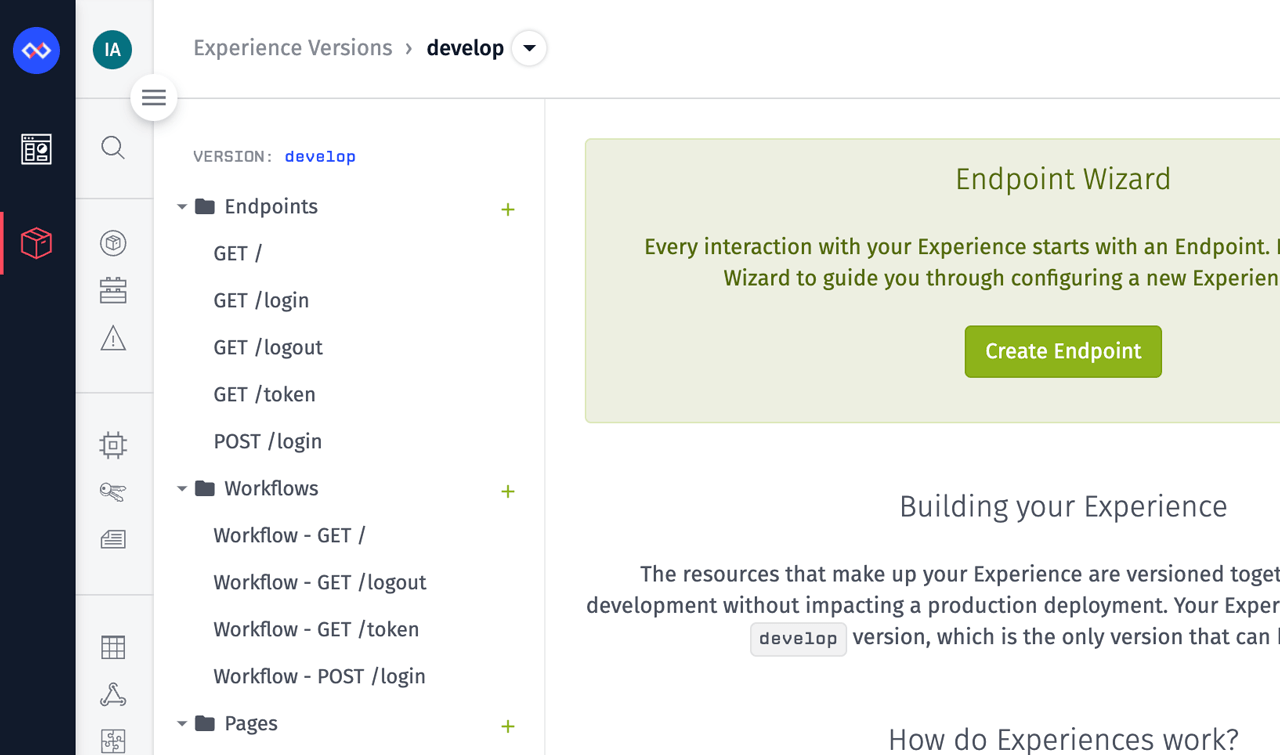
All of these endpoints, however, are handling the browser-based experience for this IoT product. They’re rendering or handling input data from web pages.
For this tutorial, let’s add two new endpoints to retrieve data:
GET /api/devices/{deviceId}- retrieve metadata about a device.GET /api/devices/{deviceId}/data- retrieve time series data for a device.
The endpoint route (e.g. /api/devices/{deviceId}) can be anything you’d like, but it’s best to follow REST design principles. The design principles used in these examples are:
- Using the
GETmethod when retrieving data. - Having the resource collection (e.g.
/devices/) in the route.
The {deviceId} value is a path parameter, which allows us to define a single endpoint that can accept requests for any device ID. Ensuring the user has access to the provided device ID is the responsibility of the workflow fulfilling the request.
The /api/ prefix does not come from REST, and is optional. This prefix has been adopted as a Losant best practice to easily separate your API endpoints from your web page endpoints.
The best way to add these two endpoints is to use the Endpoint Wizard, which will guide you through the configuration and will autogenerate starter workflows for you.
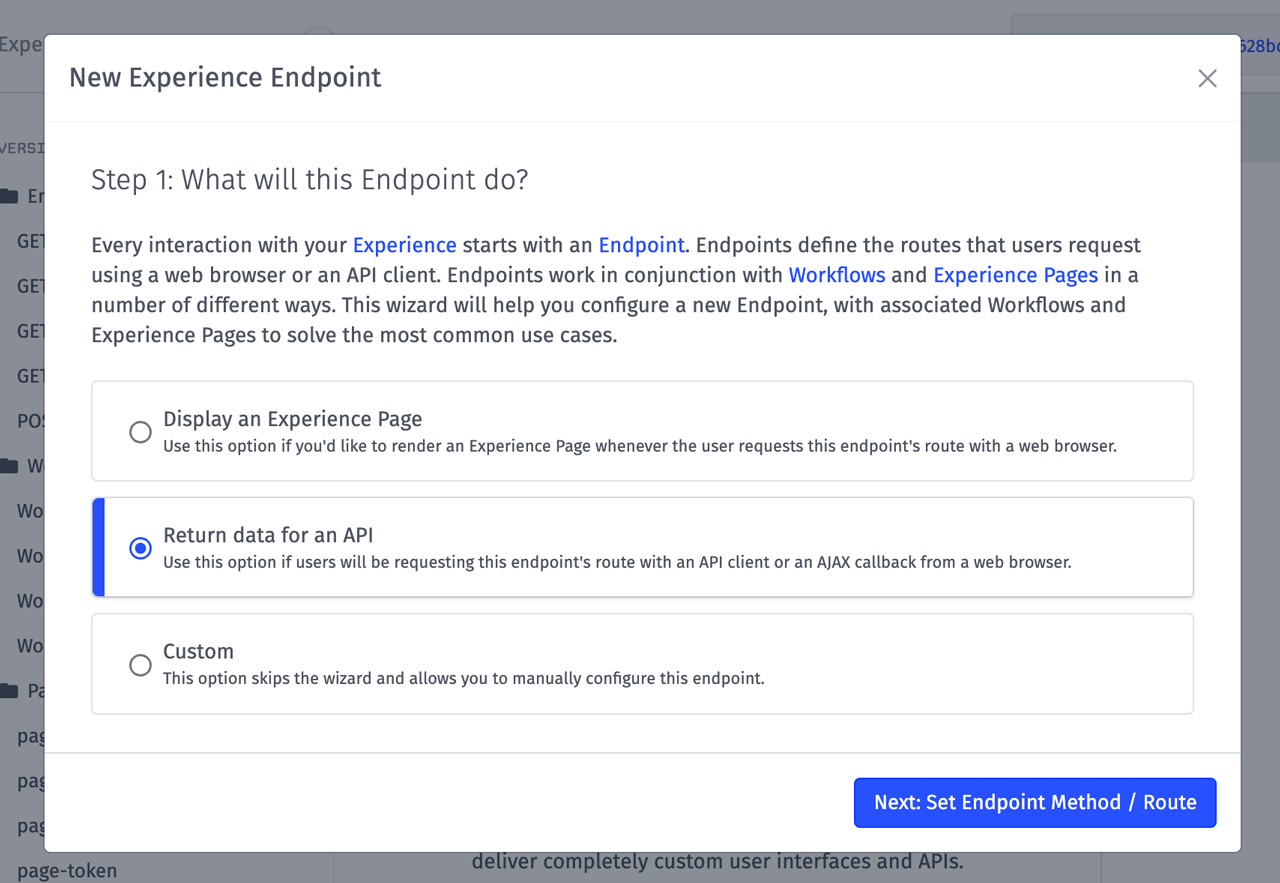
We now have two new API endpoints and two placeholder workflows to fulfill requests. If you request these endpoints now, you’ll see placeholder content that was autogenerated for you. The next step is modify the workflows so they properly verify the user and reply with the correct information.

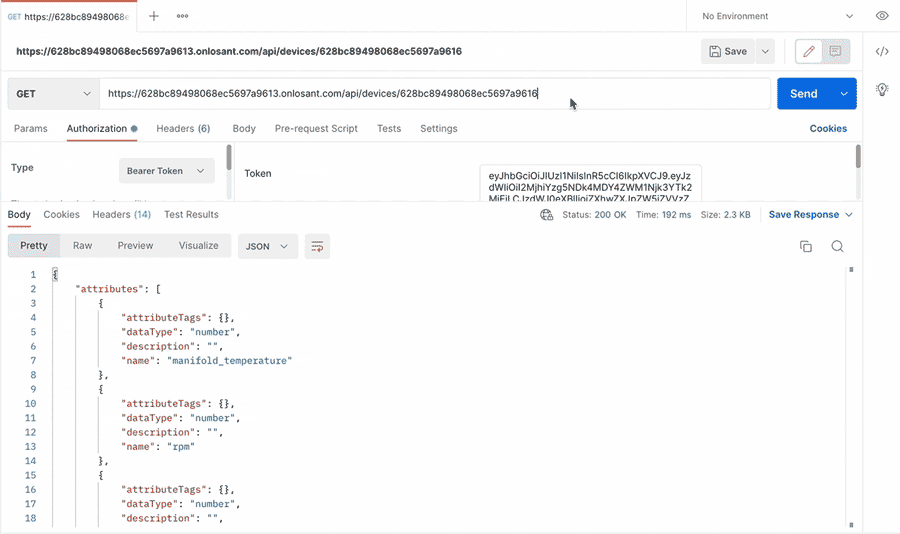
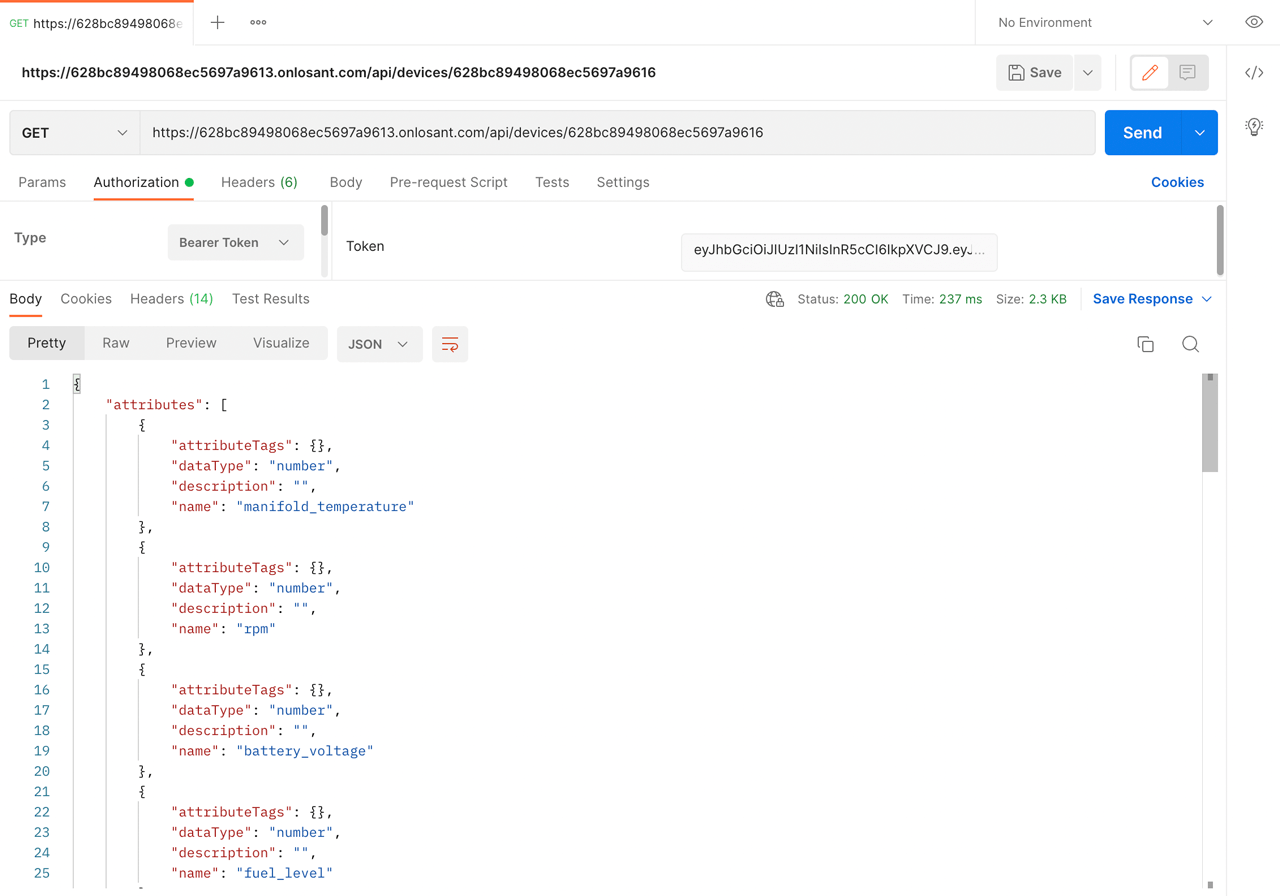
Let’s start with GET /api/devices/{deviceId}, which returns metadata for the provided device (name, description, attributes, tags, etc.).

This endpoint is already configured to only allow authenticated users (it’s an option in the Endpoint Wizard). This means the workflow will never trigger for unauthenticated users. Therefore, we’re only required to validate that the user should be allowed to access the requested device.
Losant has built-in tenancy modeling and management through Experience Groups. Users belong to groups and devices are associated with groups. We can then query this model to confirm that a user, through the group(s) they belong to, should have access to a specific device. This is easily done using the Device: Verify Node.
The following Device: Get Node queries the metadata for the requested device. We then end with an Endpoint: Reply Node to send the JSON representation of the device object to the user.
You can now request the GET /api/devices/{deviceId} endpoint using your desired API client and receive metadata for your IoT devices.
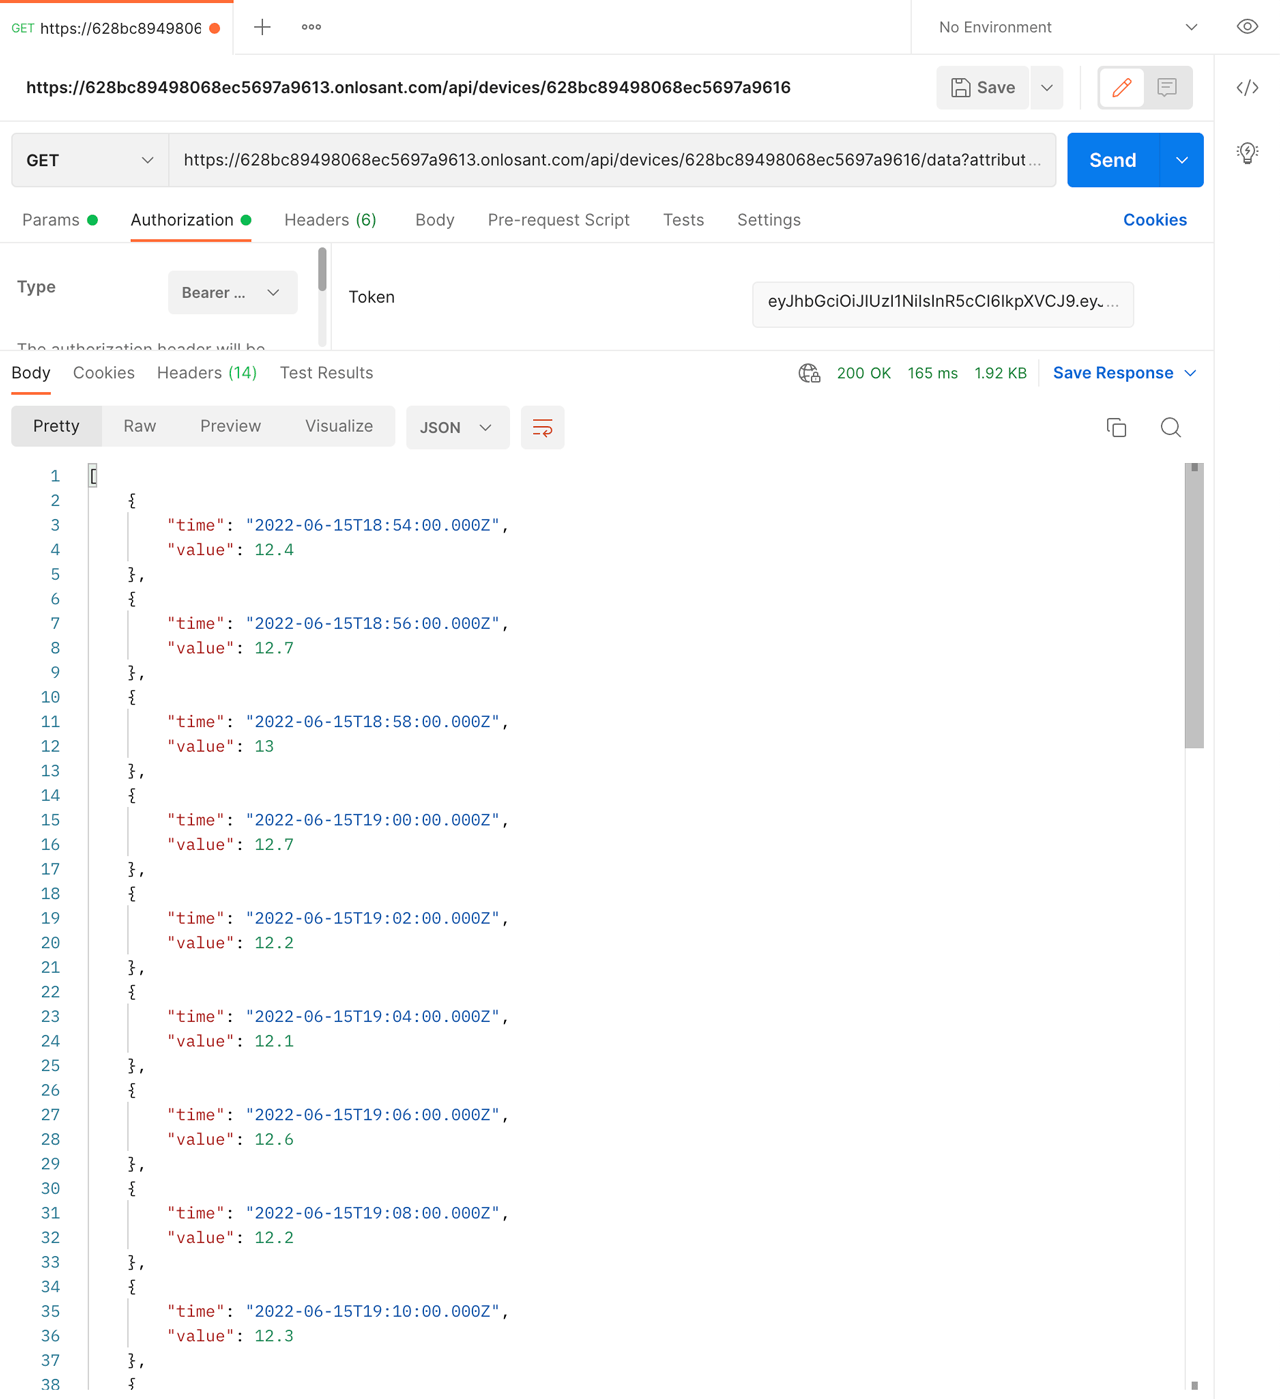
Next, let’s look at the GET /api/devices/{deviceId}/data endpoint, which returns time series data for the provided device.
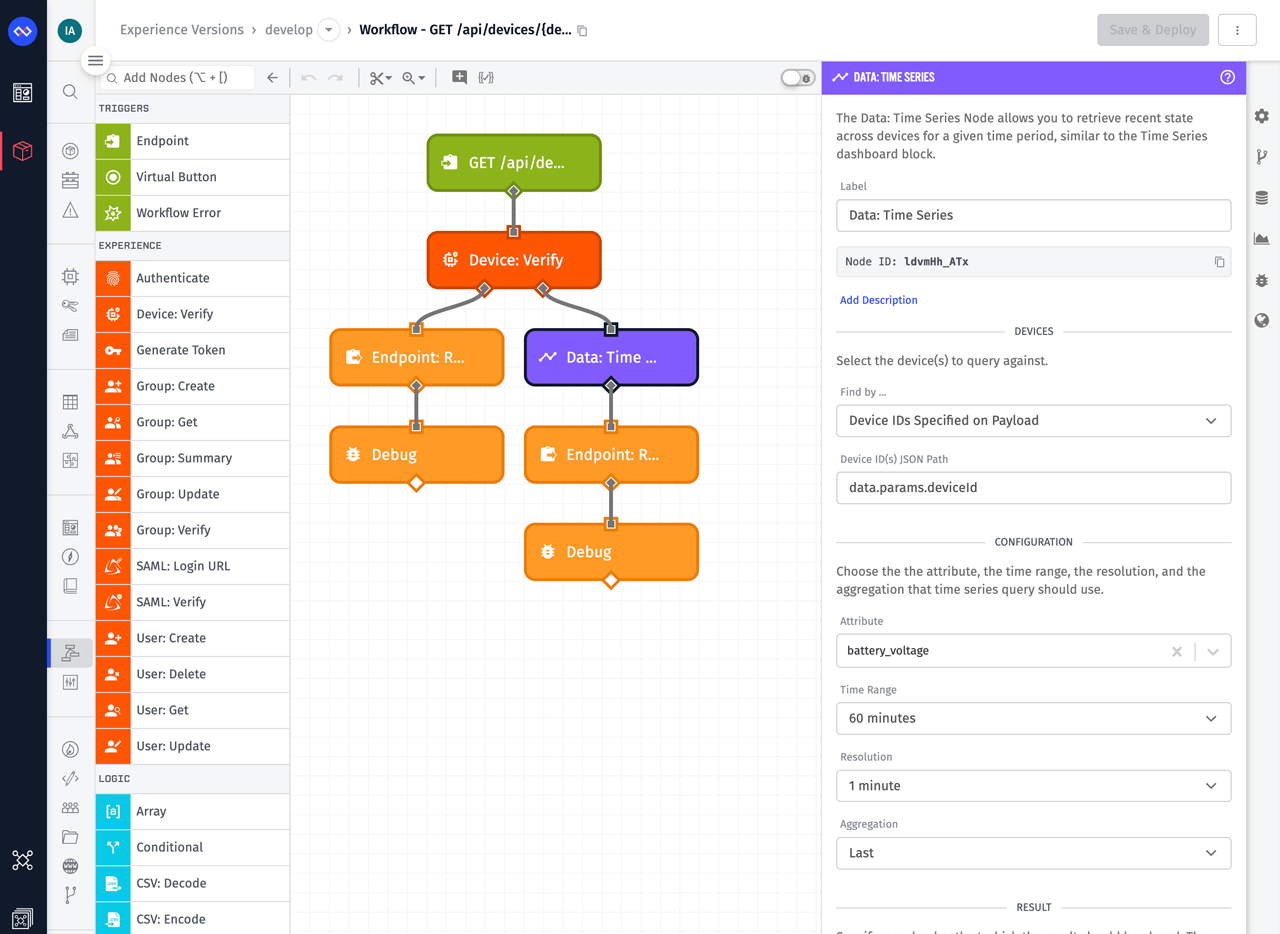
This workflow is very similar to the previous workflow, except now we’re using the Data: Time Series Node to query time series data for the device. For simplicity, the attribute details to query are directly specified in the node, however in many REST APIs, it’s common to allow the user to provide these details through the URL as a query string.
For example, if you wanted to allow the user to change the attribute and time range, they could specify those on the URL:
/api/devices/{deviceId}?attribute=battery_voltage&time_range=60
These query parameters are automatically parsed and made available on the payload at data.query.attribute and data.query.time_range. You can then reference these values using templates in the node’s configuration. For more details on how to use templates, check out the Advanced Templating Deeper Dive.
This endpoint can now be requested to return time series data for your IoT devices.
Next Steps: Bring Your IoT API to Life
This tutorial was meant to act as a starting point for how to build a well-designed REST API using the Losant Enterprise IoT Platform. Production APIs commonly include dozens or even hundreds of endpoints to request and modify the various resources that make up your IoT product or service.
An IoT API is an important aspect of any connected product and should be considered early in the development lifecycle. Thinking through your API up front also facilitates a good overall architecture, since it forces you to think about your product’s various resources and how your customers will access them.
Offering an API improves the value and sellability of your product as it helps eliminate data integration challenges as your customers combine your devices with other manufacturers into larger IoT solutions.
This tutorial barely scratches the surface of Losant’s low-code platform. If you’d like to learn more and discuss how an IoT API can add value to your connected products, please contact us.