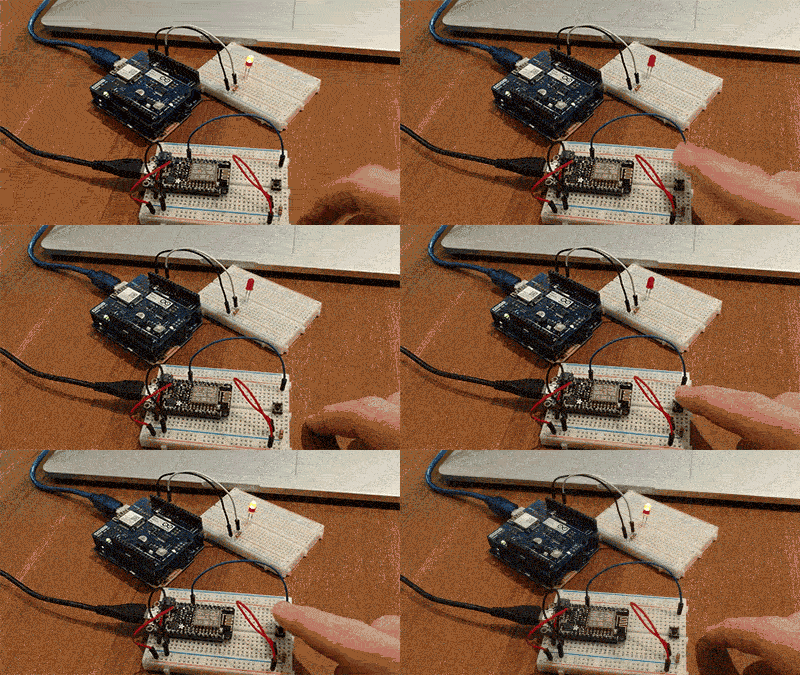
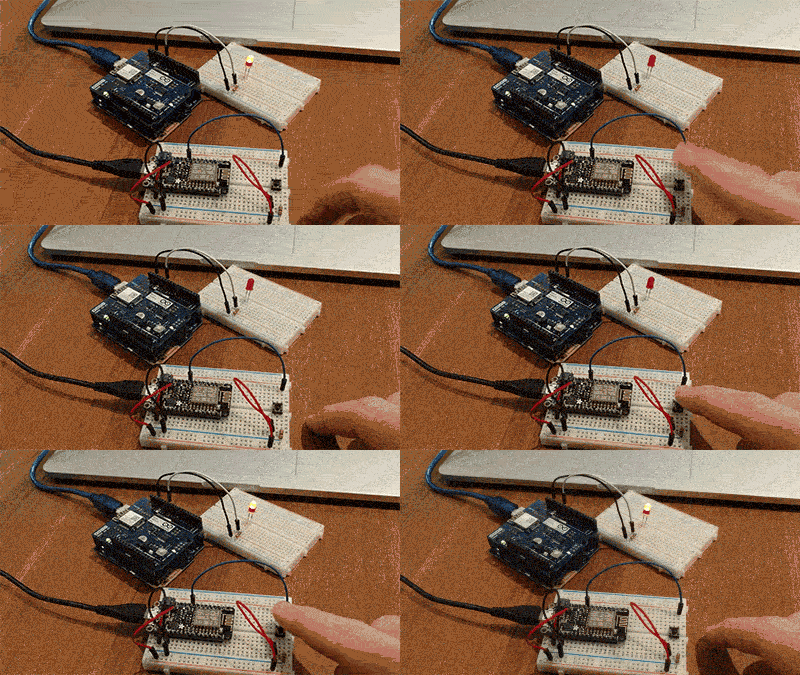
In our previous sneak preview article we looked at how Losant could be used to store and visualize device sensor data. In this sneak preview, we take a look at how Losant makes it easy to facilitate machine-to-machine (m2m) communication between two different devices.
One of the devices will have a button and the other will have an LED. Whenever the button is pressed the LED will toggle. Because these device communicate through Losant over WiFi, it doesn't matter where they are or what networks they're connected to. These two devices could be on separate ends of the world and the button will still toggle the LED without any code changes.
Create Application
The first step is to create a Losant application. All devices, data, events, and workflows are added to applications. Dashboards, as you saw from the previous sneak preview article, are not owned by an application. This is because a single dashboard can display data for many different applications.
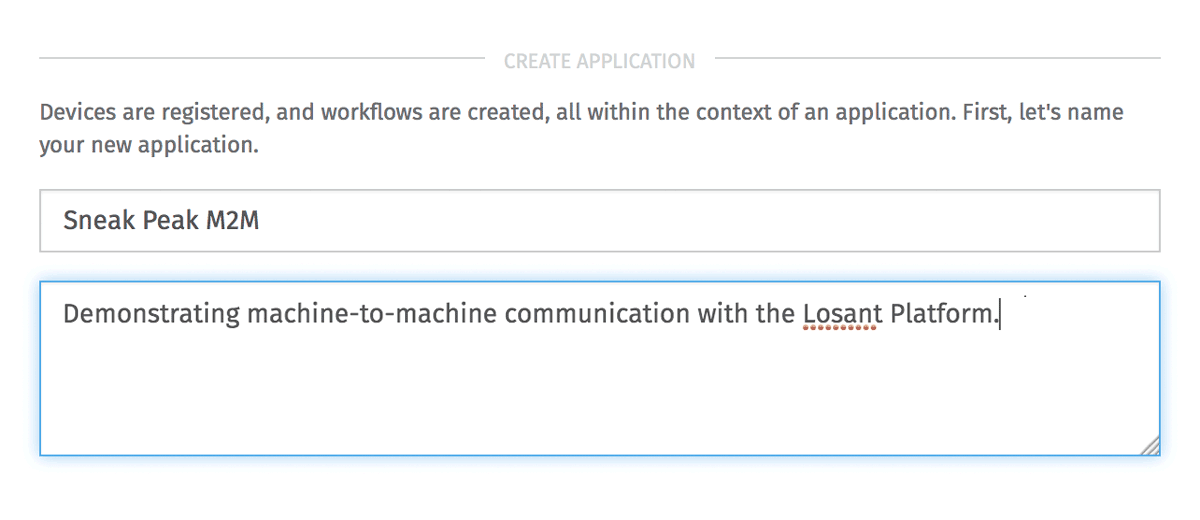
For this example I named my application "Sneak Peek M2M".
The next step is to generate an access key that your devices can use to authenticate against the Losant platform.
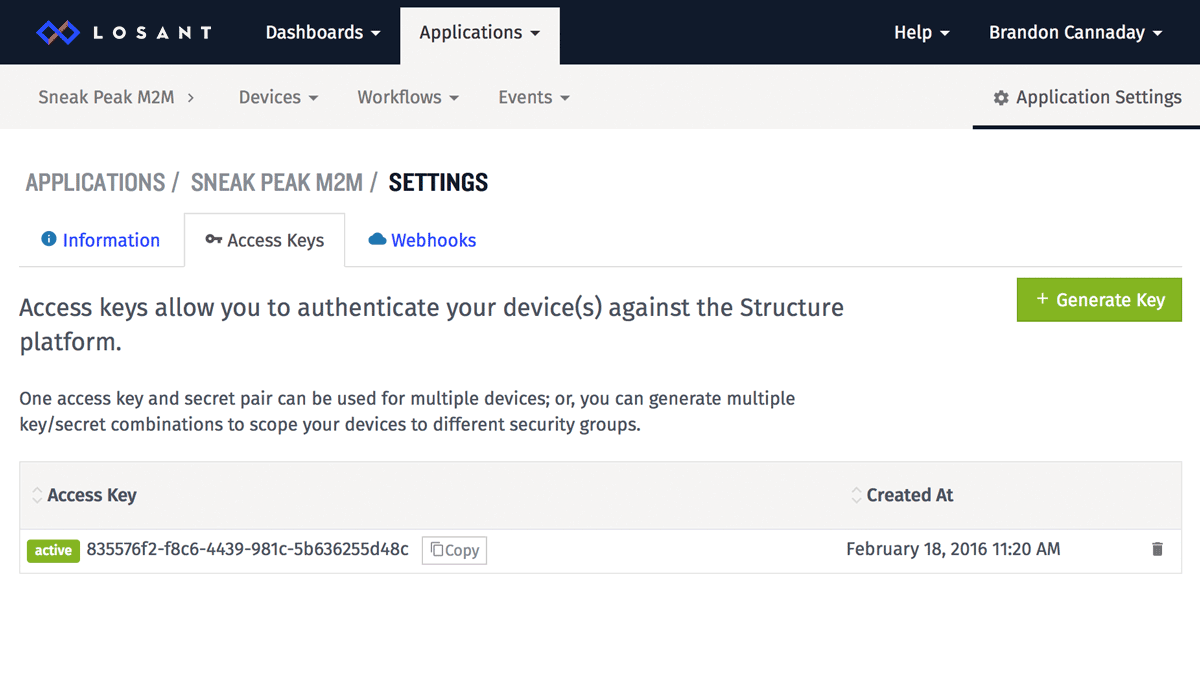
Access keys allow you control access between your devices and your Losant application. Keys can be scoped to the application, which means a key has access to all devices, or keys can be scoped to individual devices. In this example, I'm simply using an application level key, which means both of my devices can share the same key.
Button Device
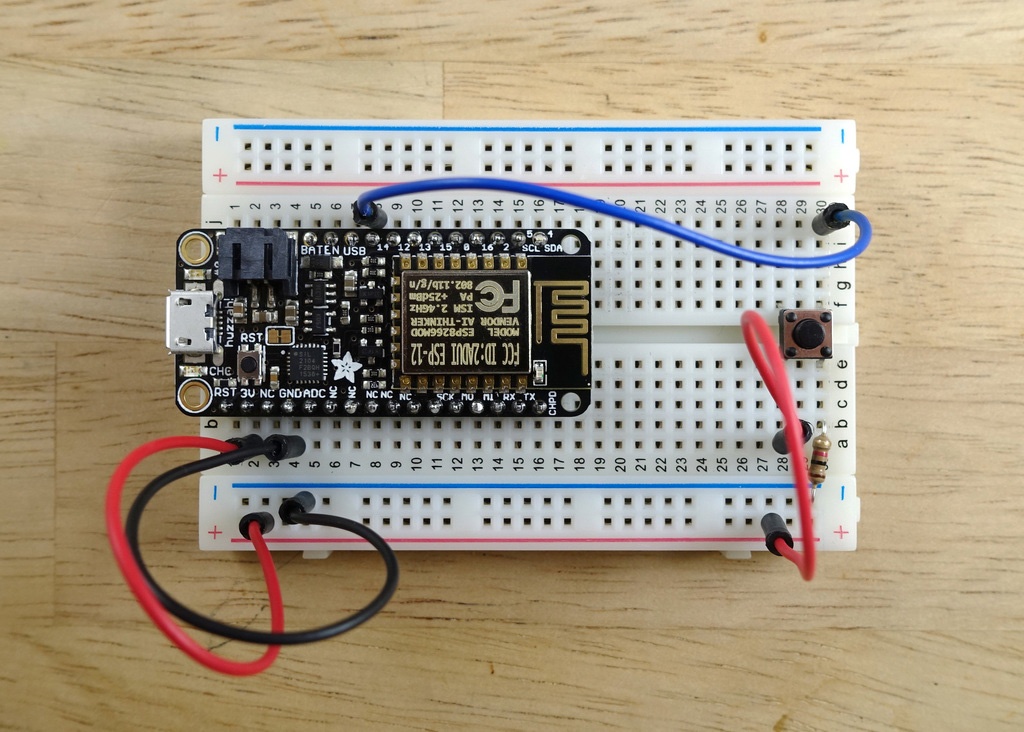
The first device I'm going to add to my Losant application is my simple button. This is an Adafruit Feather Huzzah with a basic button attached to the board. The Adafruit Feather uses an ESP8266 WiFi chip to your WiFi network.
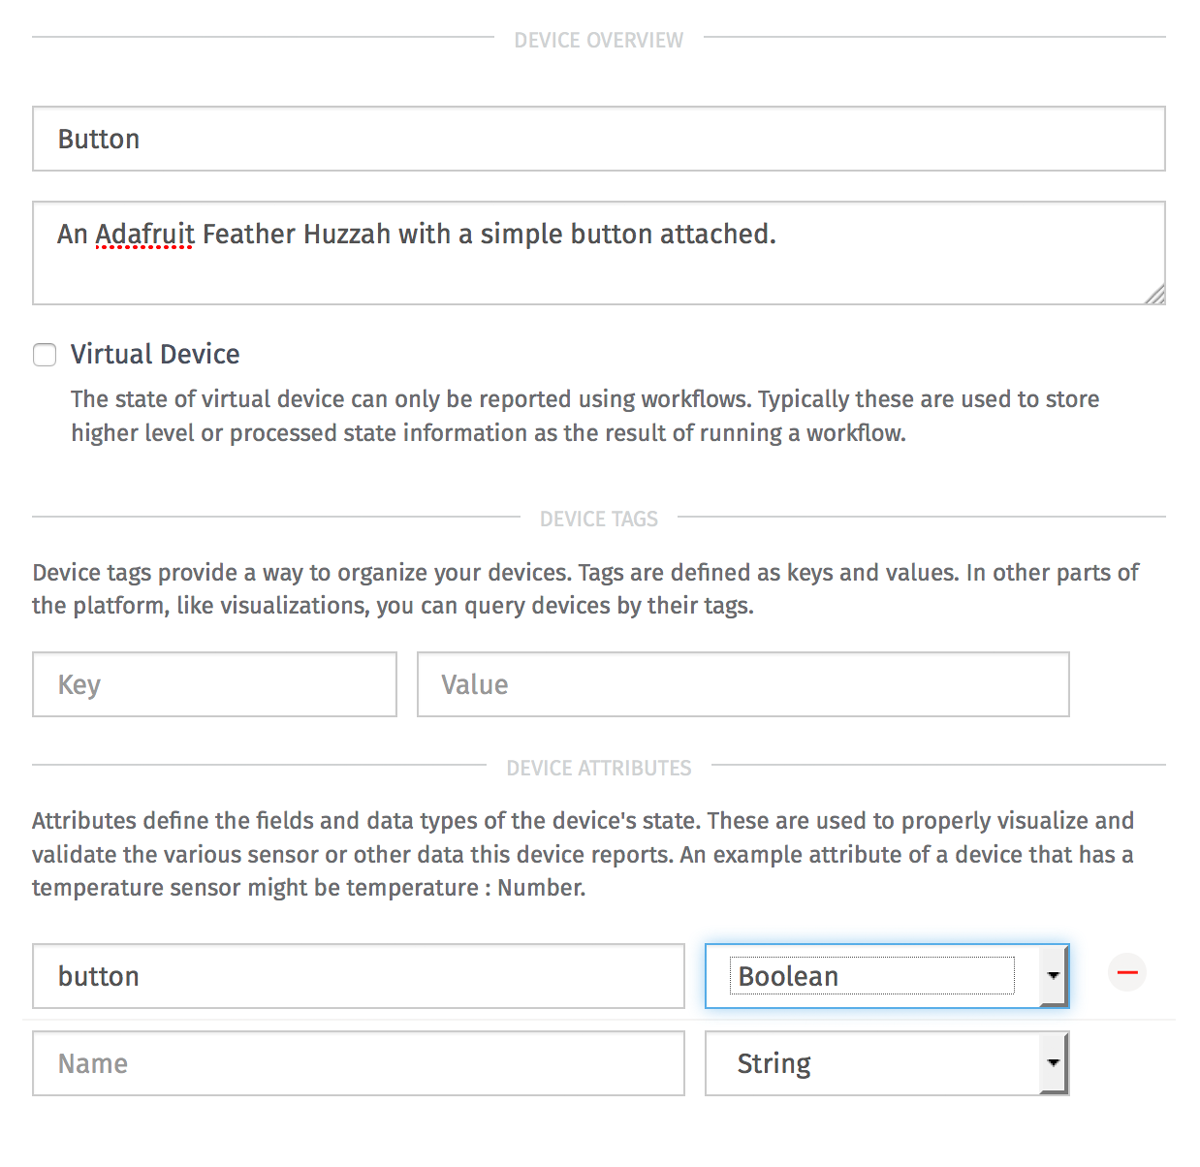
When you add a device, you have to tell Losant a few pieces of information. The first is just the name you'd like to give it. I named mine "Button". The next is what attributes the device will report as its state.
State is simply a snapshot of the device at some point in time. Devices can report state as often as needed. In my example, I added an attribute "button" that has a data type of boolean. My device will report its state anytime the button is pressed. If, for example, your device reports temperature, you may have a "temperature" attribute that gets reported once a minute.
Programming the Button Device
The source code for this article is available on GitHub. The Adafruit Feather supports the Arduino tools so we're going to program the button using Losant's open-source Arduino SDK.
I won't go through all of the source code, but I do want to cover what happens when the button is pressed. Please refer to the SDK readme for the full documentation on how to properly connect the device to the Losant platform.
When the button is pressed, the above function gets executed. Losant uses a JSON protocol when reporting state. In this example the state looks like { "button": true }. I then use device.sendState to publish the state information to Losant.
That's all that's required for the button device. Now that Losant knows when the button is pressed, everything else can be handled by the platform.
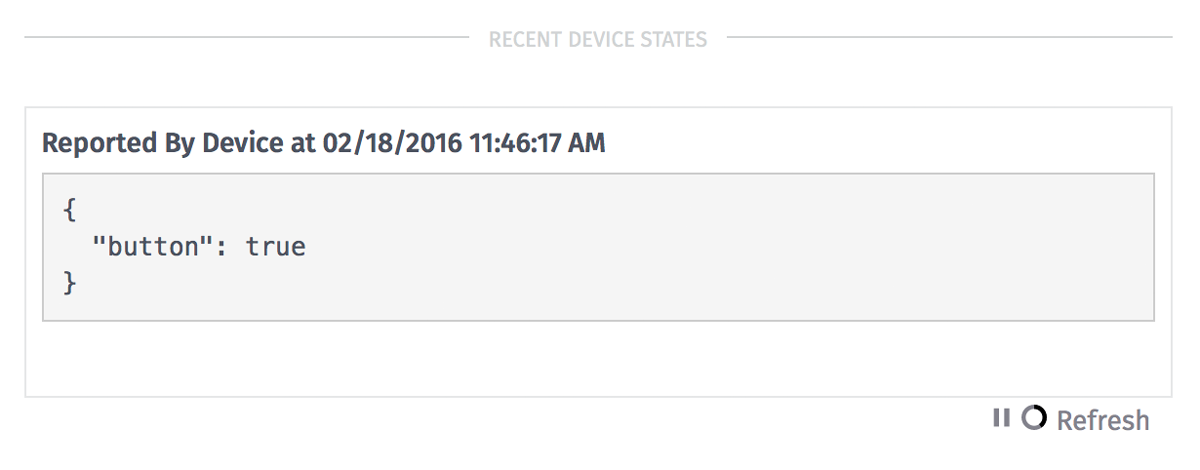
You can test that Losant is receiving messages by using the "Recent Device States" section on your device page. For this example, I can see my device properly reporting whenever the button is pressed.
LED Device
Now we need the 2nd device, which is an Arduino 101 with an Arduino 101 WiFi Shield. I chose two different microcontrollers to demonstrate how Losant can facilitate communication between different types of devices.
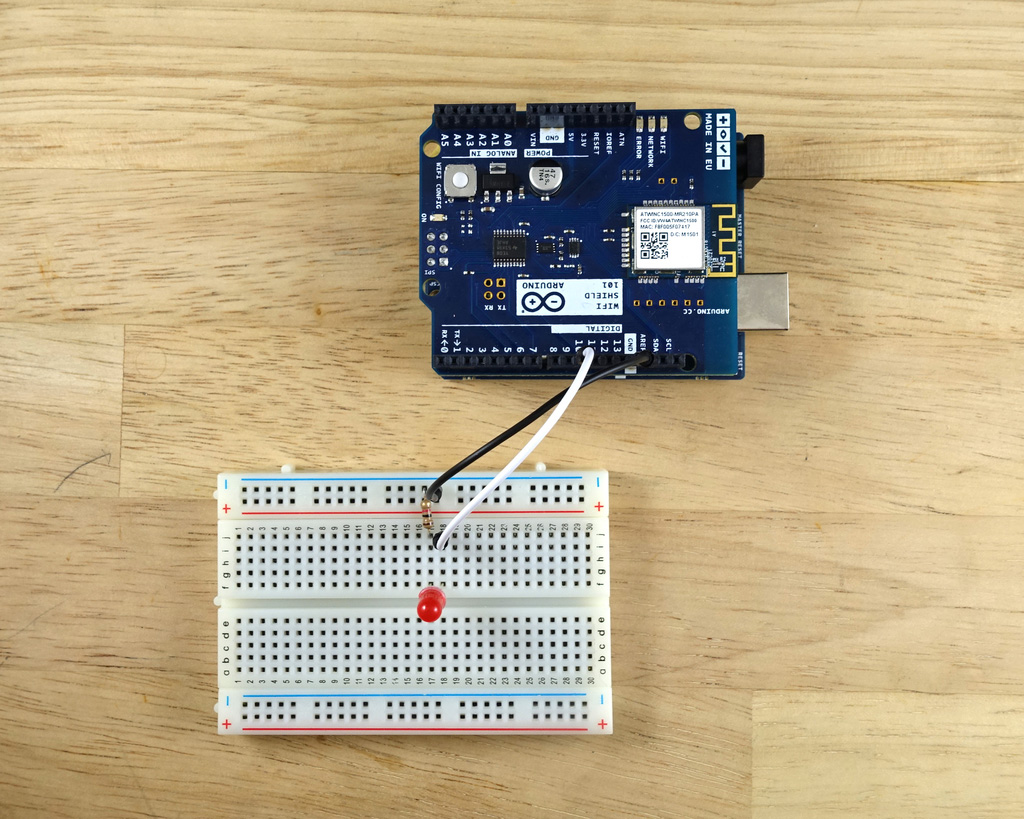
The LED device doesn't actually report any state, so the only thing required when adding this device is a name. This device does, however, use another communication feature of Losant called commands.
Commands allow you to instruct devices to take action. There's no Losant-specific configuration required for commands. What commands a device supports is entirely up to the device's firmware. Commands are defined as a name an an optional JSON payload. This example will use a command named "toggle" with no payload. If, for example, your device is something like a scrolling marquee, you could use a command like "update text" with a payload that includes the text to display.
Programming the LED Device
All of the source code required for this example is also available on GitHub. Just like before, we're going to use the Losant Arduino SDK to connect this device to the Losant platform.
Again, I'm not going to show all of the device, however I do want to explain one particularly important part.
The call to device.onCommand registers the function that should be called whenever this device receives a command from the Losant platform. The LosantCommand object passed to this function has all the information about the command that was invoked, including the name and payload. In this example, my firmware cares about the "toggle" command, in which case it turns on or off the LED.
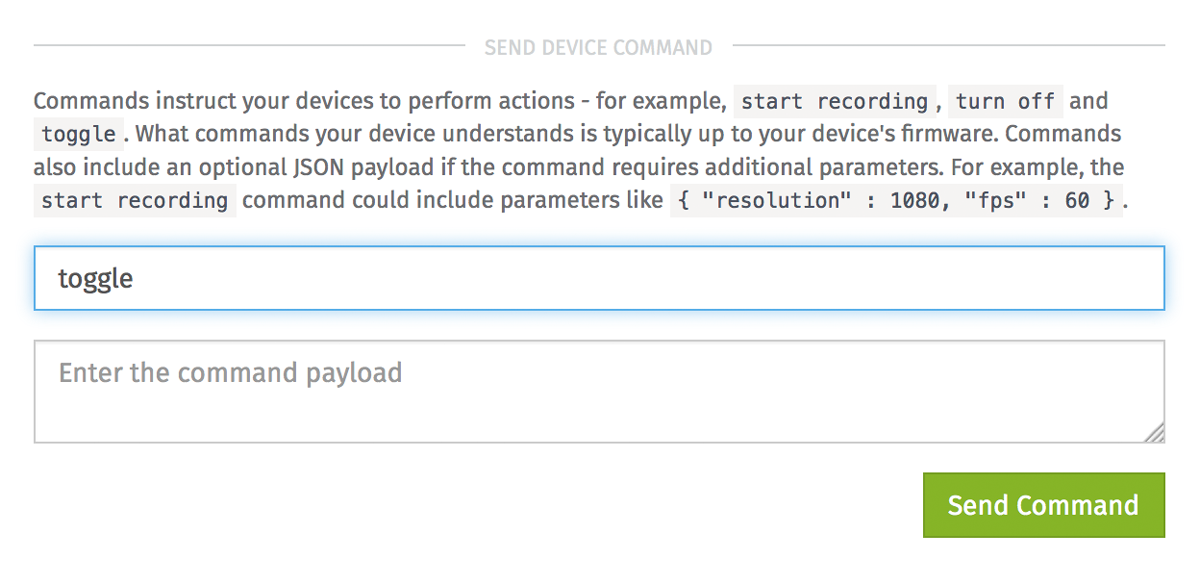
You can test commands by using the "Send Device Command" section on the device page.
Using Losant for Machine-to-Machine Communication
Now that we've got one device sending button presses to Losant and another device accepting a command to toggle an LED, it's time to connect those together using a Losant workflow.
Workflows can be triggered by many different types of actions. For this example, we're going to trigger it with a device state update. The device will be our button device.
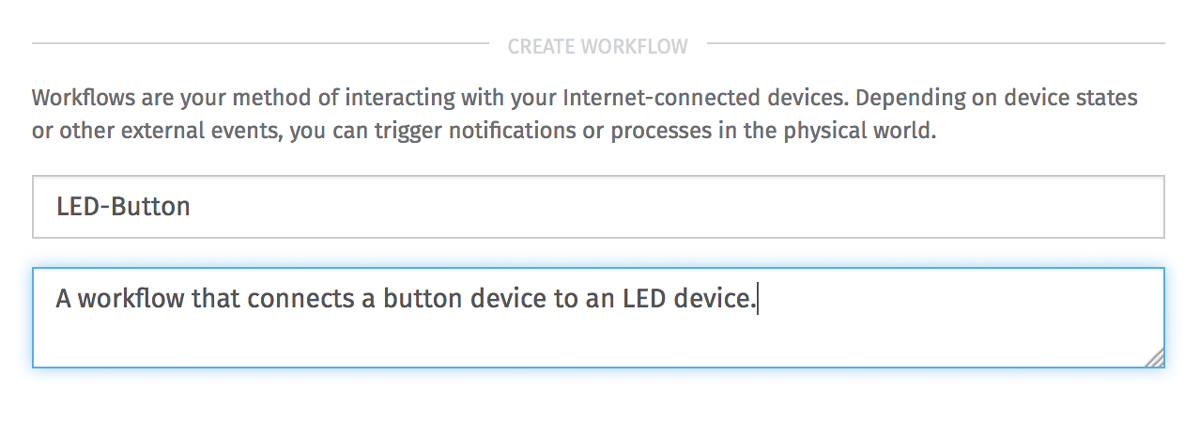
The first step is to create a workflow. I named mine "LED-button".
Next, drag a Device trigger onto the workflow and set the Device ID property to the ID of the button device. I also added a Debug node so I could see whenever the button was pressed to ensure everything is hooked up correctly.
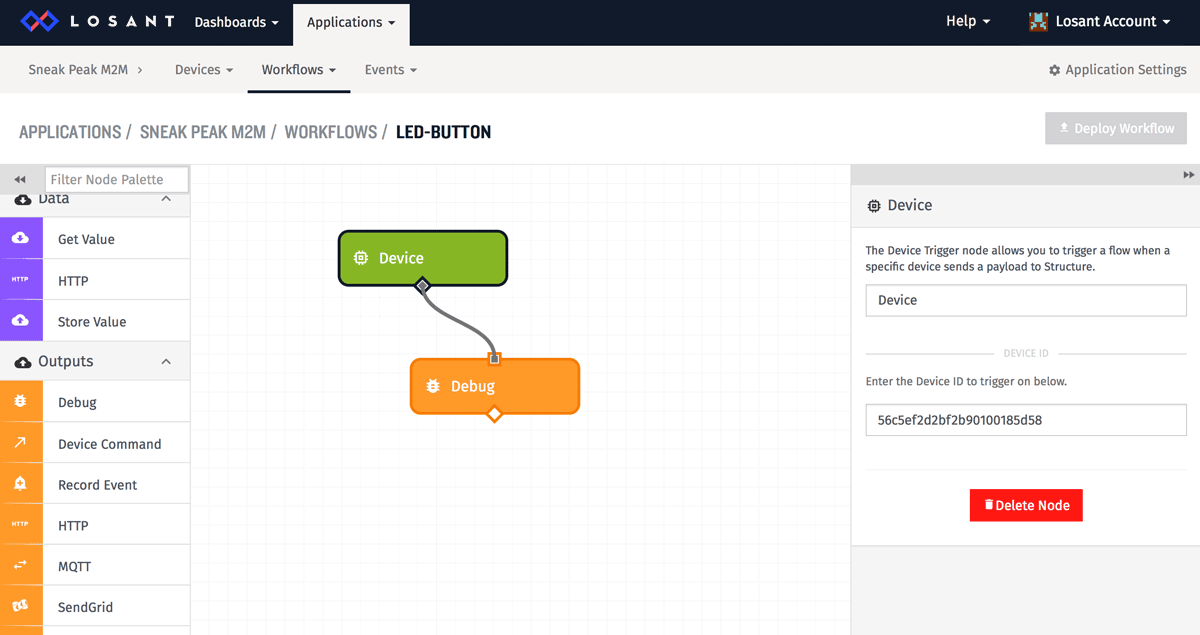
After I've deployed this workflow using the "Deploy Workflow" button and verified it's being triggered by looking at the debug output, it's time to connect the LED device.
For this, I simply added a "Device Command" node and attached it to the "Device Node". I entered the device ID of the LED device and set the command name to "toggle".
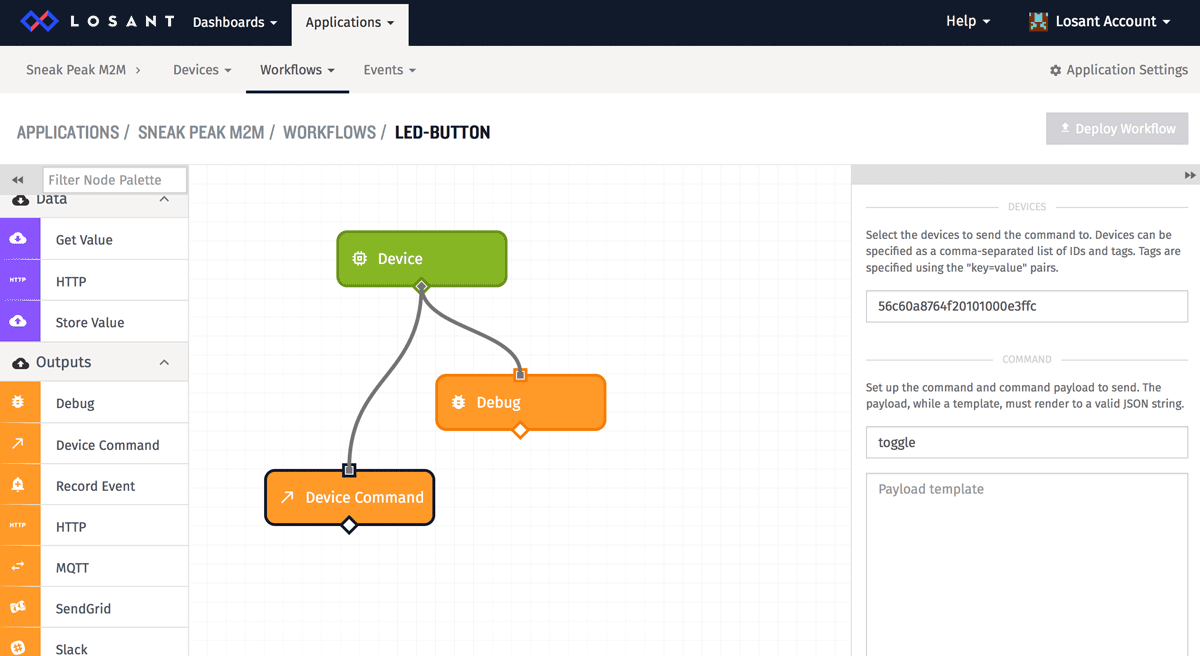
That's all there is to it. Now whenever the button device reports state, the "toggle" command will be invoked on the LED device.
